Author Topic: Insert Tutorial  (Read 17697 times)

Offline MarshRat

  • New Forum Member
  • *
  • Posts: 237
  • Location: Puxico, MO
  • Marsh Master Custom Calls
    • Marsh Master Custom Calls
Insert Tutorial
« on: May 10, 2011, 01:18:40 AM »
I know there are several tutorials up on how to make toneboards. I just wanted to post up how I do it. I'm not saying this is the right way or the best way its just what works for me. Hopefully, someone may pick something up off it as well. So here it goes. I apologize before hand about the messy shop.  :eek:
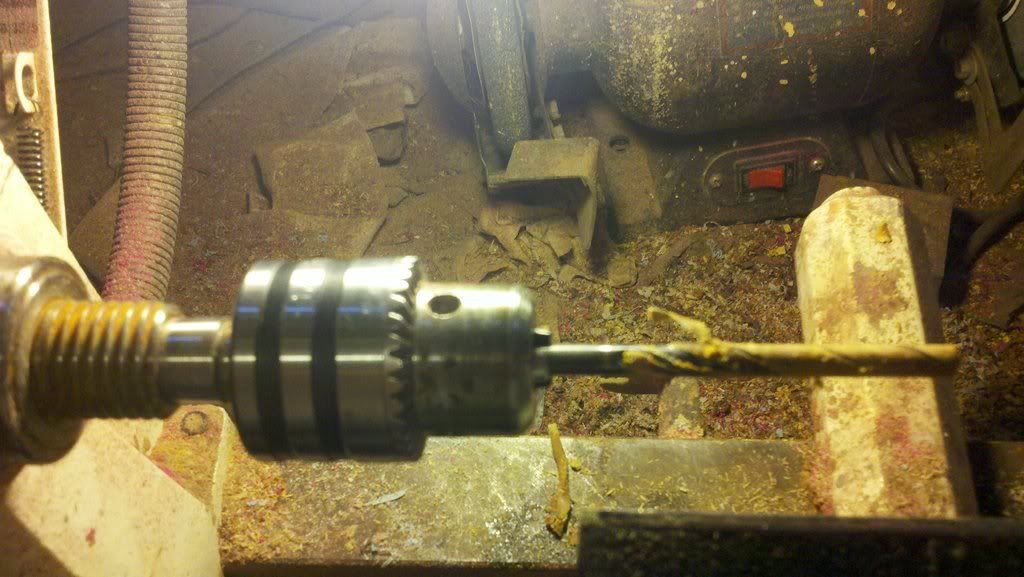
I start off with a 1/4'' drill bit in my chuck. I got my chuck off amazon.com for like $15 and it has lasted me for a while.

I cut my blank at 4" I don't know why 4" It's just what I have always done and it works for me. I know, I know I have small hands  :nono:

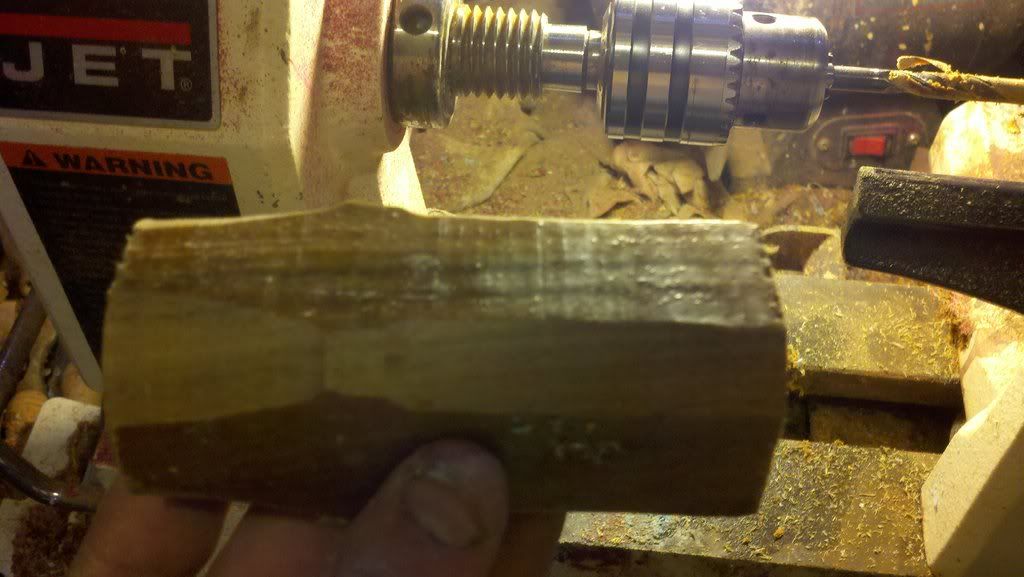
I find center on both ends of the blank and drill the insert hole on my lathe at its slowest speed. I don't drill all the way up the bit so I can easily sand the end of the insert later.

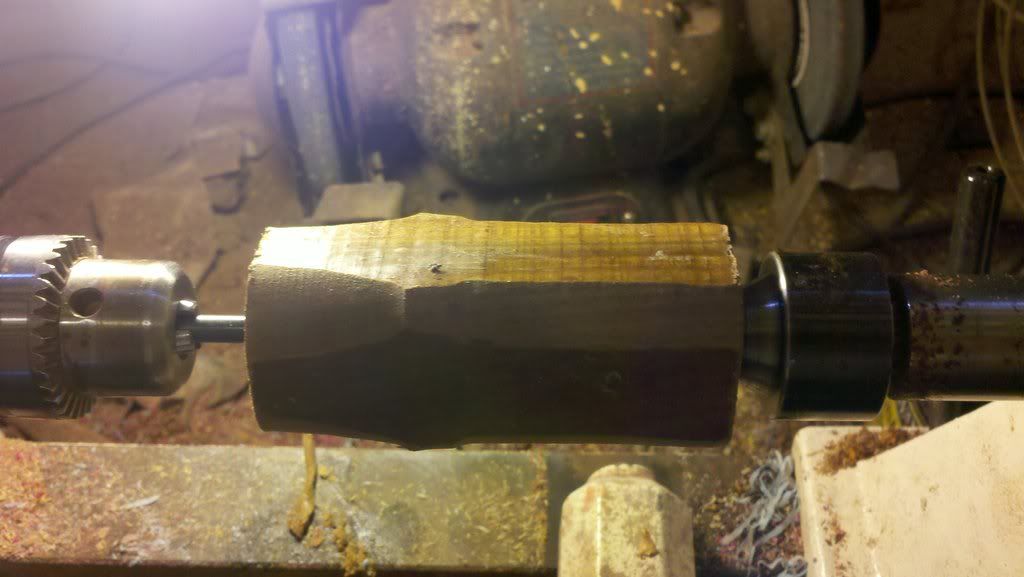
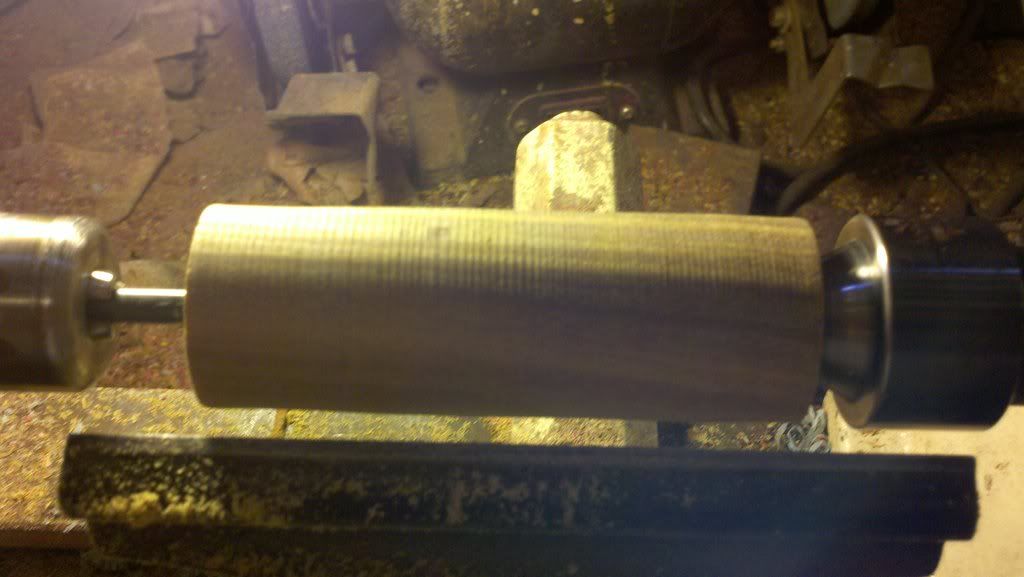
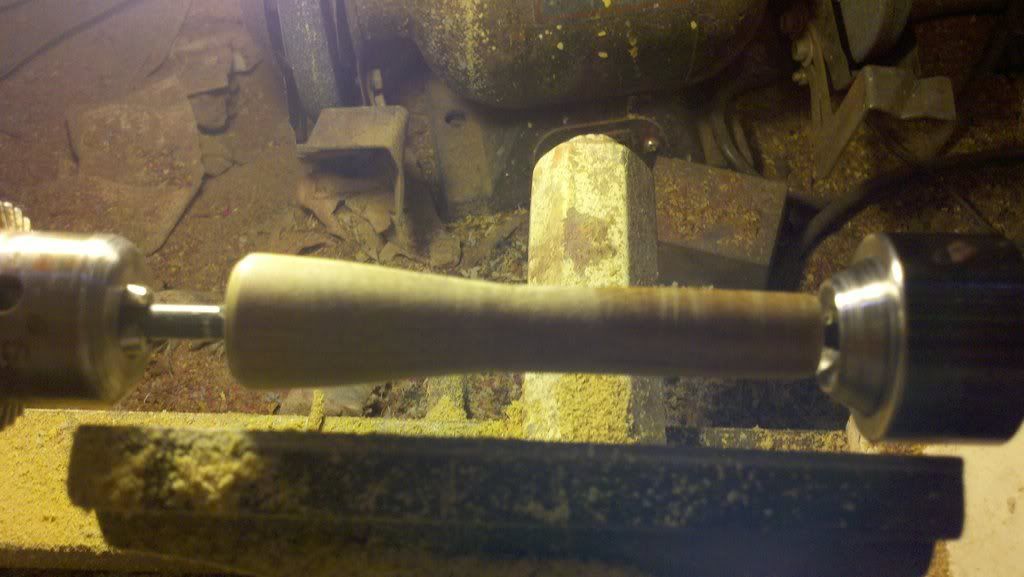
Once I get the blank to the desired spot on the bit I get the blank turned round.

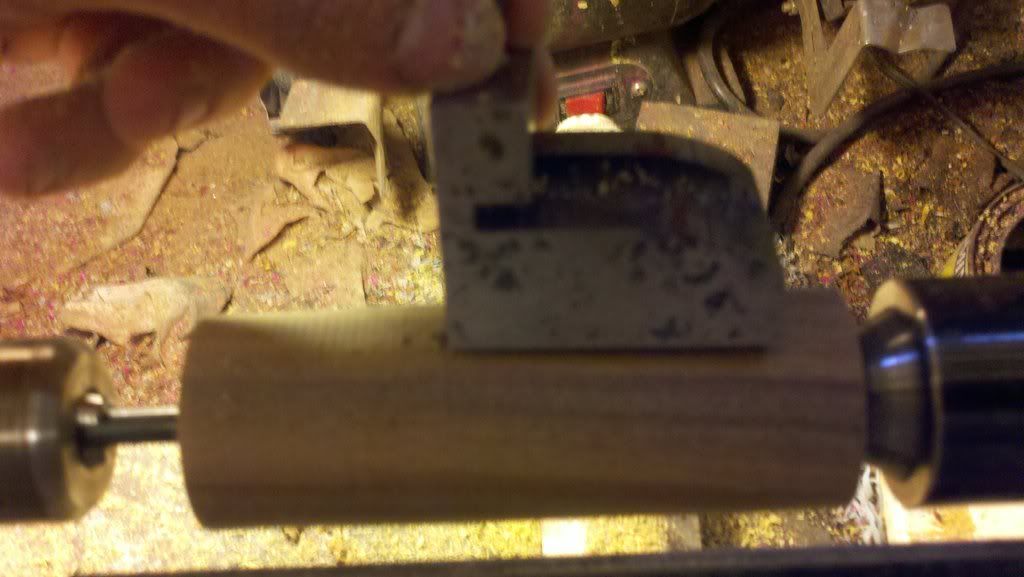
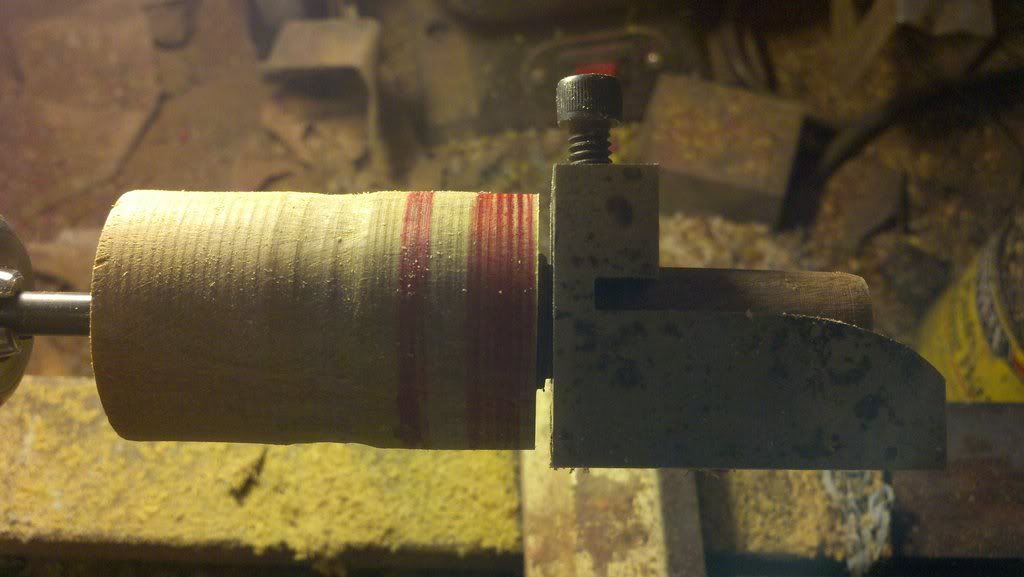
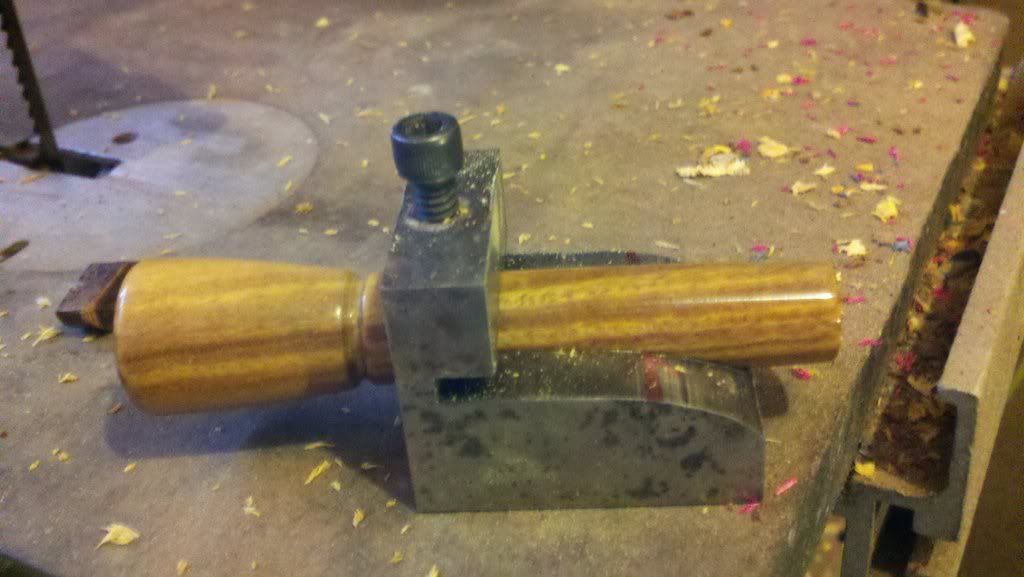
I then hold my jig up on the blank figuring up on how much bell I want sticking out of the barrel.

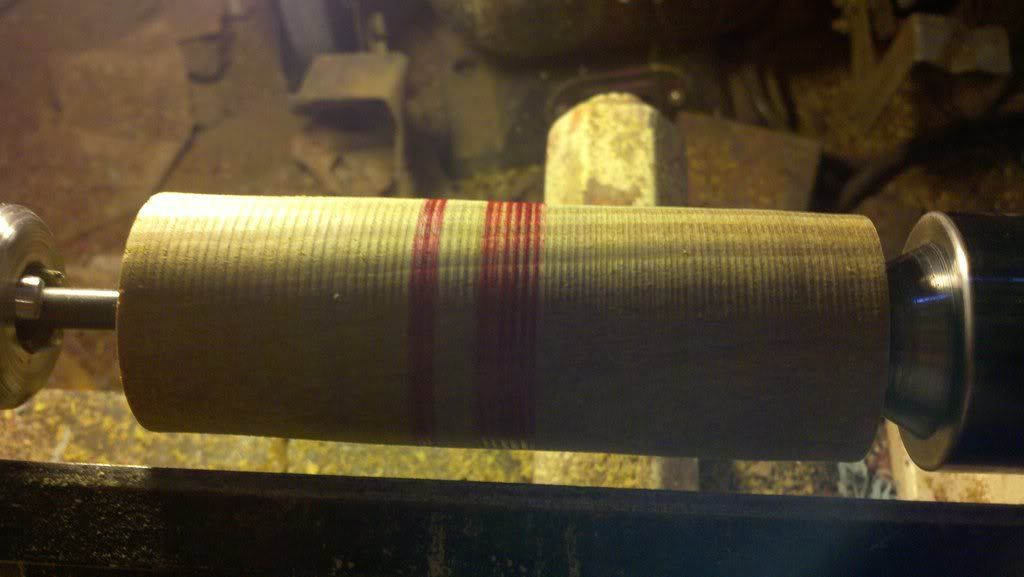
I then mark the edge of the jig where I want it to fit into the barrel at and mark where I should start increasing diameter at on the insert. The fat line is for the increasing diameter and the skinny line is roughly where the insert will stop at in the barrel.

Then I turn the end down to slightly larger than 5/8" up to the fat line on the blank.

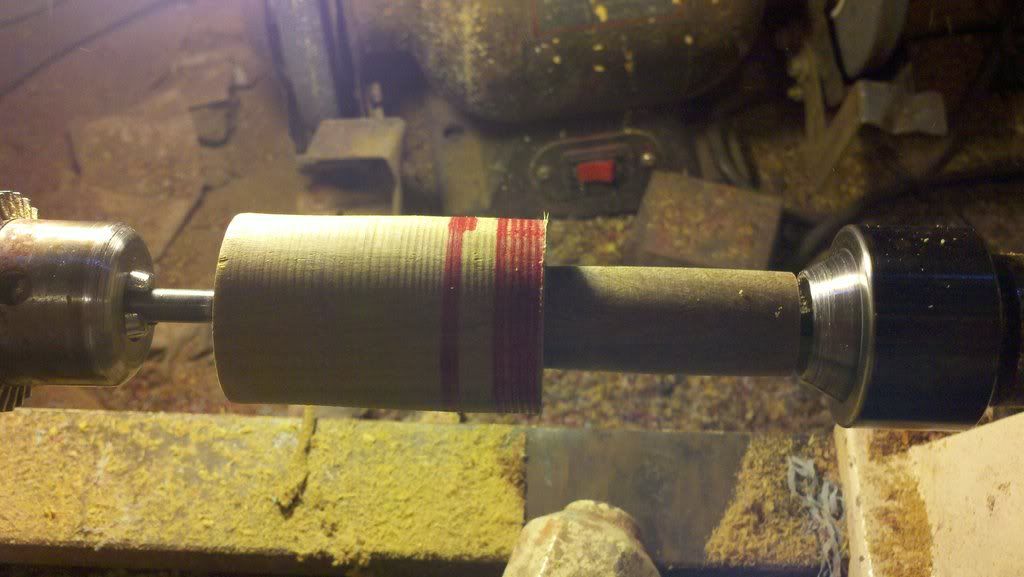
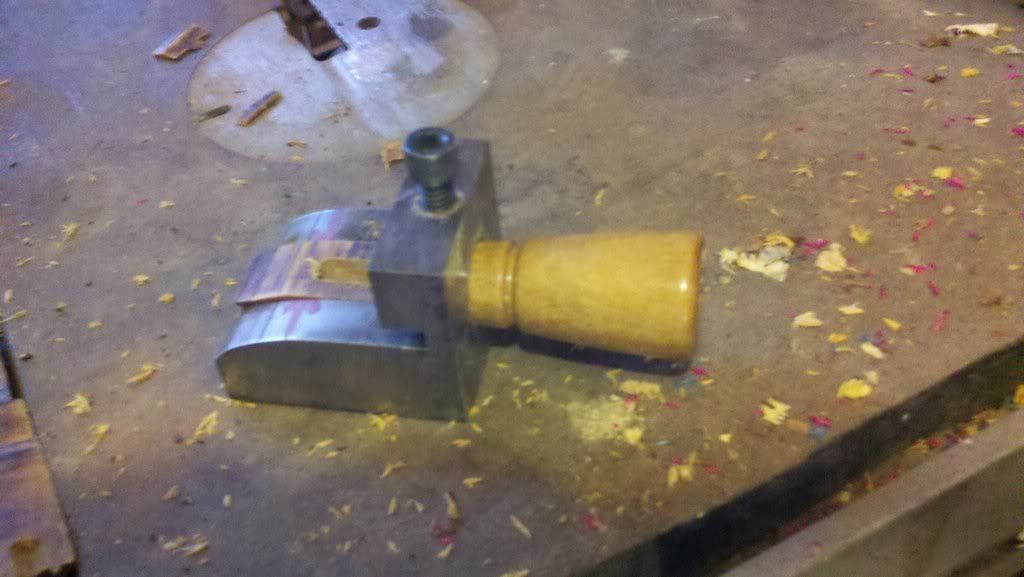
I then slide the tailstock back and put my jig on the insert to see if its the same diameter as my jig. I don't worry about taking too much off sanding cause I figure I put back on in finish what I have sanded off.

Once I get a good fit on my jig I turn my insert down to its basic shape.

After I get the insert to its basic shape I then slide the tailstock back again and put a barrel on the insert to see how far the bell will stick out of the barrel. If its too far I shave a little more off of it so it fits exactly where I want it to.

With the barrel on the insert I mark a line where I want my lanyard groove to go on the insert. I usually put it approx. 1/4" down the insert from the barrel.

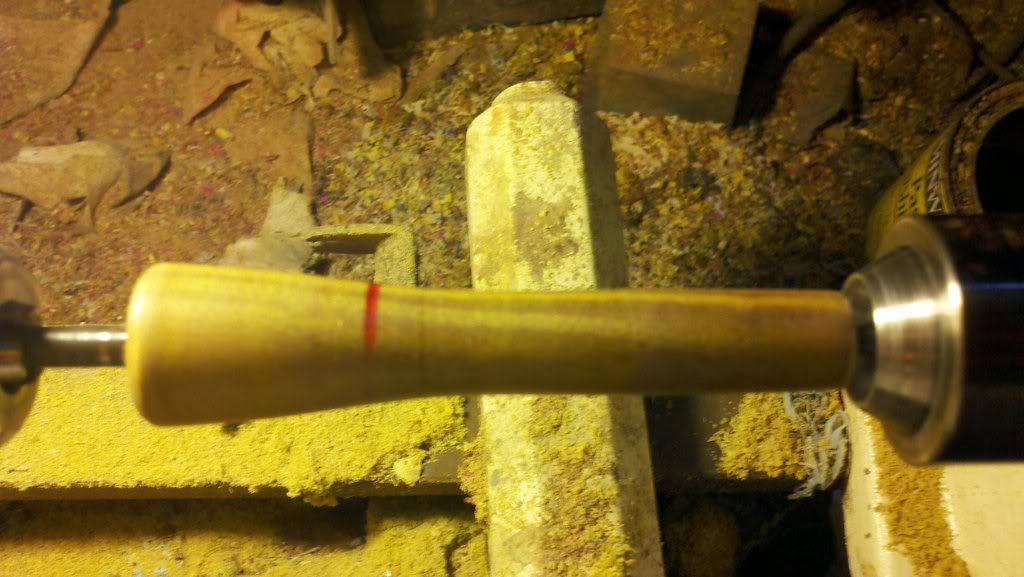
I then cut the marked line out into a lanyard groove.

Once this is done I apply my finish to the call and take it off the lathe and put it in my jig.

I then cut the insert out on a bandsaw leaving about 1/16" of soundboard to file on so I don't dull my blade. Then I file it down where I want it.

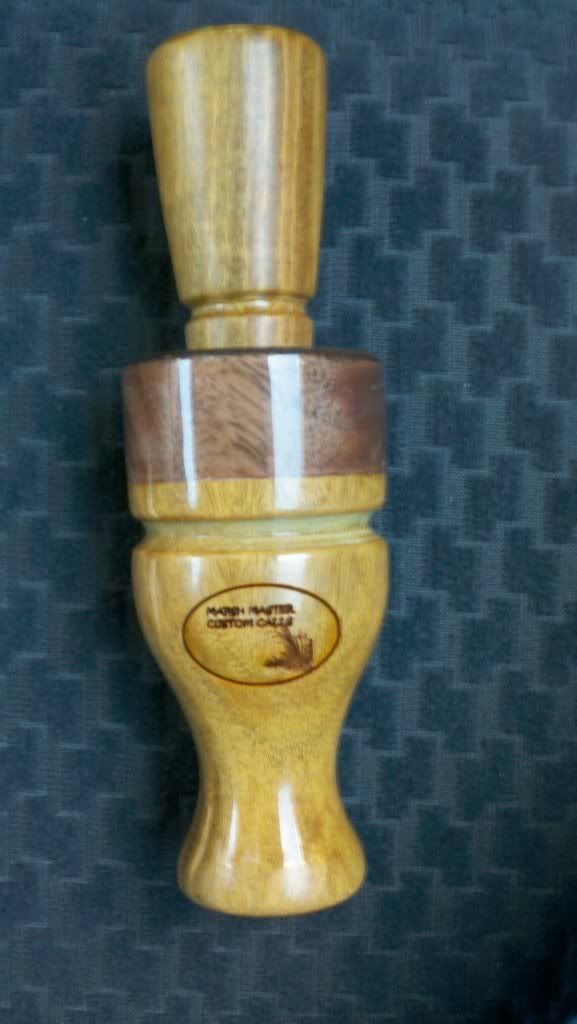
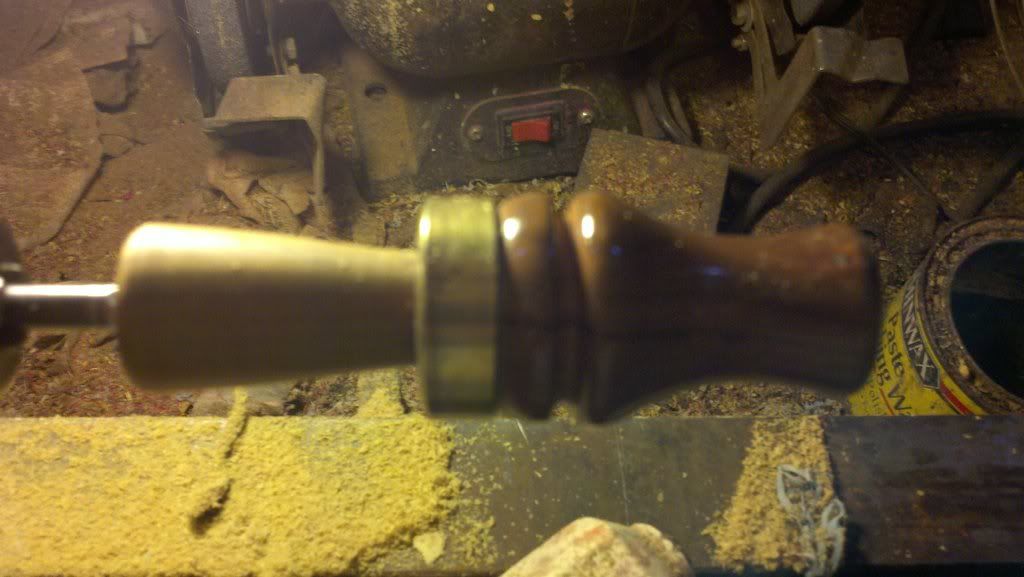
Finally once all that is done I slap the insert into the barrel and its ready to go. After much needed tuning of course. Like I said before, there is 153 ways to make an insert. This is just the way that works for me. Hope it helps some of you guys that are wanting to start making your own inserts. This is the finished product "Lignum Vitae"


Marsh Master Custom Calls
www.marshmaster.webs.com

Offline Aaron at Wingerts Woodworks

  • Global Mentor & Moderator
  • New Forum Member
  • *
  • Posts: 7353
  • Location: Mission, KS
    • Wingert's Woodworks
Re: Insert Tutorial
« Reply #1 on: May 10, 2011, 09:25:10 AM »
Great tutorial, thanks for posting it.  We'll have to work on getting it put up in the tutorials section so folks can easily reference it.   :2up:

Offline MarshRat

  • New Forum Member
  • *
  • Posts: 237
  • Location: Puxico, MO
  • Marsh Master Custom Calls
    • Marsh Master Custom Calls
Re: Insert Tutorial
« Reply #2 on: May 10, 2011, 10:07:13 AM »
I didn't even think about that. It was midnight and I was excited to get it posted, sorry.
Marsh Master Custom Calls
www.marshmaster.webs.com

Offline VECtor Calls

  • Global Mentor & Moderator
  • New Forum Member
  • *
  • Posts: 11265
  • Location: Whitetail Country
  • VECtor Custom Calls
    • VECtor Custom Calls
Re: Insert Tutorial
« Reply #3 on: May 10, 2011, 02:18:50 PM »
ALMOST makes me want to try to make one.   :devil2:

I think the trial and error on sound would just drive me up the wall.   :stickman1:

Nice work for sure!

Parker
Pass on the tradition. A candle loses nothing by lighting another candle.

VECtor Custom Calls
Deer Grunt Calls Turkey Calls and Other Custom Game Calls

Bubba

  • Guest
Re: Insert Tutorial
« Reply #4 on: May 11, 2011, 05:03:28 PM »
Question.  Do you use the drill bit as a blind mandrel and if so, doesn't the pressure from the tail stock make it want to cut deeper?

Offline MarshRat

  • New Forum Member
  • *
  • Posts: 237
  • Location: Puxico, MO
  • Marsh Master Custom Calls
    • Marsh Master Custom Calls
Re: Insert Tutorial
« Reply #5 on: May 11, 2011, 07:26:23 PM »
I do use the drill bit as a blind mandrel. However, I cut approximately 1/2 of the way then clean the bit off and go the rest of the way (hope that makes sense). By doing it that way the drill bit is clogged with wood and won't cut any deeper. Also the blank is spinning the same speed as the bit so it doesn't cut any further. If I was to stop the blank and apply pressure from the tail stock then it would most likely drill deeper.
Marsh Master Custom Calls
www.marshmaster.webs.com

Offline Jon @ JRwoods

  • New Forum Member
  • *
  • Posts: 1538
  • Location: Wichita, Kansas
Re: Insert Tutorial
« Reply #6 on: May 11, 2011, 07:35:37 PM »
 :devil2: Come on Parker, just try a little...all the other kids are doing it! :devil2:
« Last Edit: September 08, 2011, 03:06:34 PM by Braz »
Formerly Highlooker.
"It could probably be shown by facts and figures that there is no distinctly native criminal class except congress."~Mark Twain

Offline VECtor Calls

  • Global Mentor & Moderator
  • New Forum Member
  • *
  • Posts: 11265
  • Location: Whitetail Country
  • VECtor Custom Calls
    • VECtor Custom Calls
Re: Insert Tutorial
« Reply #7 on: May 11, 2011, 08:45:24 PM »
 :hammer:  I just like how he makes it look easy!

Parker
Pass on the tradition. A candle loses nothing by lighting another candle.

VECtor Custom Calls
Deer Grunt Calls Turkey Calls and Other Custom Game Calls

Offline MarshRat

  • New Forum Member
  • *
  • Posts: 237
  • Location: Puxico, MO
  • Marsh Master Custom Calls
    • Marsh Master Custom Calls
Re: Insert Tutorial
« Reply #8 on: May 16, 2011, 08:47:19 AM »
It took almost 2 years of trial and error on making/tuning them to make it look that easy. I would say I kept probably 2 out of every 10 I made. Still yet as any call maker I run into problems sometimes. I'm not gonna lie it ticks me off after I have spent all that time on something and it goes in the (I'll work on it during a rainy day box). I will tell you though most of my problems at first were from me using a wooden jig I had made myself. I couldn't get a consistent shape or pattern on the toneboard. I got one of wade's public jigs and after trial and error have gotten a really good sound out of my inserts. The main thing is you can always drill your tuning hole deeper but its hard to put wood back in place if you drill too deep. Usually after I cut it out I still have to drill the hole maybe 1/2"-1" or so.
Marsh Master Custom Calls
www.marshmaster.webs.com

Offline Pure Hunting Custom Game Calls

  • New Forum Member
  • *
  • Posts: 1068
  • Age: 48
  • Location: Mount Juliet, TN
    • Pure Hunting Custom Game Calls
Re: Insert Tutorial
« Reply #9 on: September 08, 2011, 02:13:30 PM »
I used this tutorial to make my inserts last night.  Great tutorial by the way.  The only thing that I changed was that I used a drill stop from harbor freight http://www.harborfreight.com/7-piece-drill-stop-set-38336.html on the 1/4" bit.  A set of 7 is only $3.99 and it worked great.
Vegetarian - that's an old Indian word meaning "lousy hunter”

If I'm not arguing with you, then you are right.

(John Atkins - formerly Predhead )
http://www.purehuntingcalls.com
http://www.facebook.com/PureHuntingCustomGameCalls

Offline MarshRat

  • New Forum Member
  • *
  • Posts: 237
  • Location: Puxico, MO
  • Marsh Master Custom Calls
    • Marsh Master Custom Calls
Re: Insert Tutorial
« Reply #10 on: September 08, 2011, 03:47:44 PM »
Yeah I saw them and had considered getting them so I could have the exact same tuning hole length everytime.  Oh well what fun would wood working be if everything went your way 100% of the time  :stickman1:

Matt
Marsh Master Custom Calls
www.marshmaster.webs.com

Offline dedduck

  • New Forum Member
  • *
  • Posts: 149
  • Age: 36
  • Location: Central New Jersey
Re: Insert Tutorial
« Reply #11 on: September 08, 2011, 04:02:59 PM »
You make it look so easy LOL

Being a new call maker I def want to venture down the path of making my own inserts and this post really helped.  I want to try it NOW but think I should wait until I perfect making a perfect barrel  :up1:

Offline MarshRat

  • New Forum Member
  • *
  • Posts: 237
  • Location: Puxico, MO
  • Marsh Master Custom Calls
    • Marsh Master Custom Calls
Re: Insert Tutorial
« Reply #12 on: September 08, 2011, 04:22:42 PM »
Ahh come on you can do it  :devil2: Just do like I did and start off with using untreated pine.  I got 1.5x1.5x10 of it at Lowes for $4 its hard enough so you get your shape and sound and your not wasting your good wood.

Matt
Marsh Master Custom Calls
www.marshmaster.webs.com

Offline Aaron at Wingerts Woodworks

  • Global Mentor & Moderator
  • New Forum Member
  • *
  • Posts: 7353
  • Location: Mission, KS
    • Wingert's Woodworks
Re: Insert Tutorial
« Reply #13 on: September 08, 2011, 07:17:41 PM »
Better late than never Matt, I moved this tutorial to the duck and goose call tutorials section where it can benefit more folks.  Thanks for the reminder! 
Aaron

Offline dogcatcher

  • New Forum Member
  • *
  • Posts: 3950
  • Location: West Texas, New Mexico or on the road
Re: Insert Tutorial
« Reply #14 on: September 08, 2011, 08:57:47 PM »
Yeah I saw them and had considered getting them so I could have the exact same tuning hole length everytime.  Oh well what fun would wood working be if everything went your way 100% of the time  :stickman1:

Matt

Instead of buying the drill stops, make them yourself.  Cut a piece of 3/4" wood dowel, about 1/2" long.  Drill out the center using your collet chuck to hold it.   Then drill and tap it from the side to hold it in place.  I drill and tap both sides, using 2 set screws seem to give me a better no movement stop.  You can also use acrylic or Delrin instead of the wood dowel, hint, use different colors for different sizes.

Another hint, use another drill stop on your blind mandrel, it will help to keep the blank turning instead of slipping on the blind mandrel.

Marvin
Combat Infantryman, the ultimate hunter where the prey shoots back.
Old style calls for today's outdoorsman
"Call and they will come."
Helping those that are helping themselves.