This way is certainly no better than the others in this section... in fact, it is largely based on a compilation of them. I had different supplies/tools than the others so had to improvise, and thought sharing might spur creative ideas for folks thinking about trying a reelfoot but without some of the tools in prev tutorials.
First, I turn my blanks to 1.25" dowels. Why 1.25? That is how wide my lathe chuck spreads. After deciding on which end will be the exhaust and chucking the opposite end, I mark lines just as FDR does at 1.5" and 2.2" from the outlet. Then I use a 1/4" bit and drill the exhaust to 1.75" (.25" longer than the closest line).

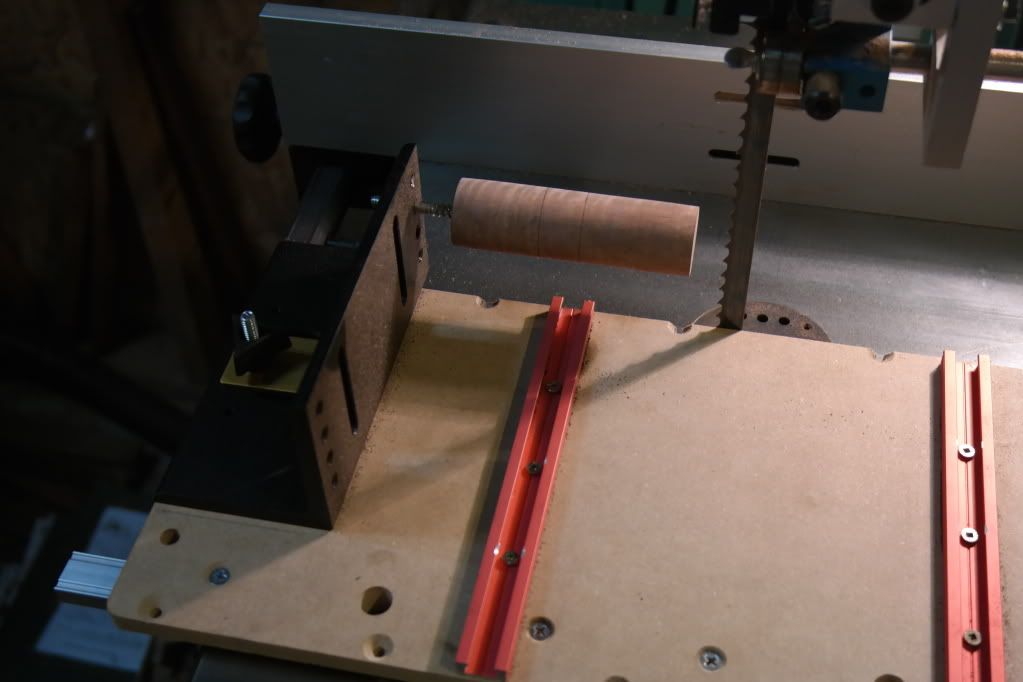
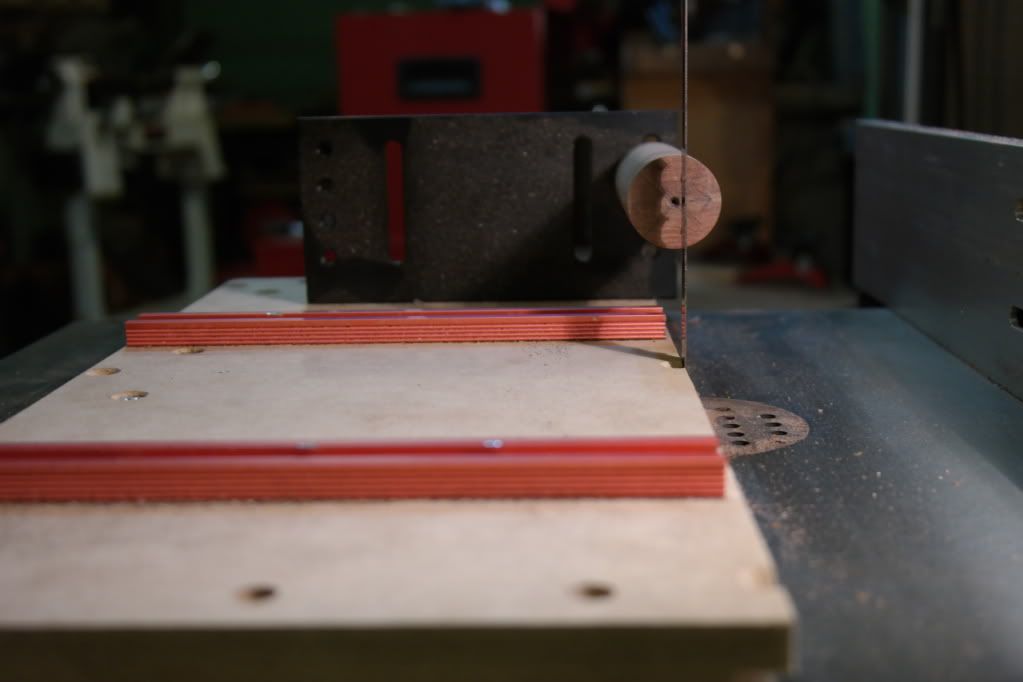
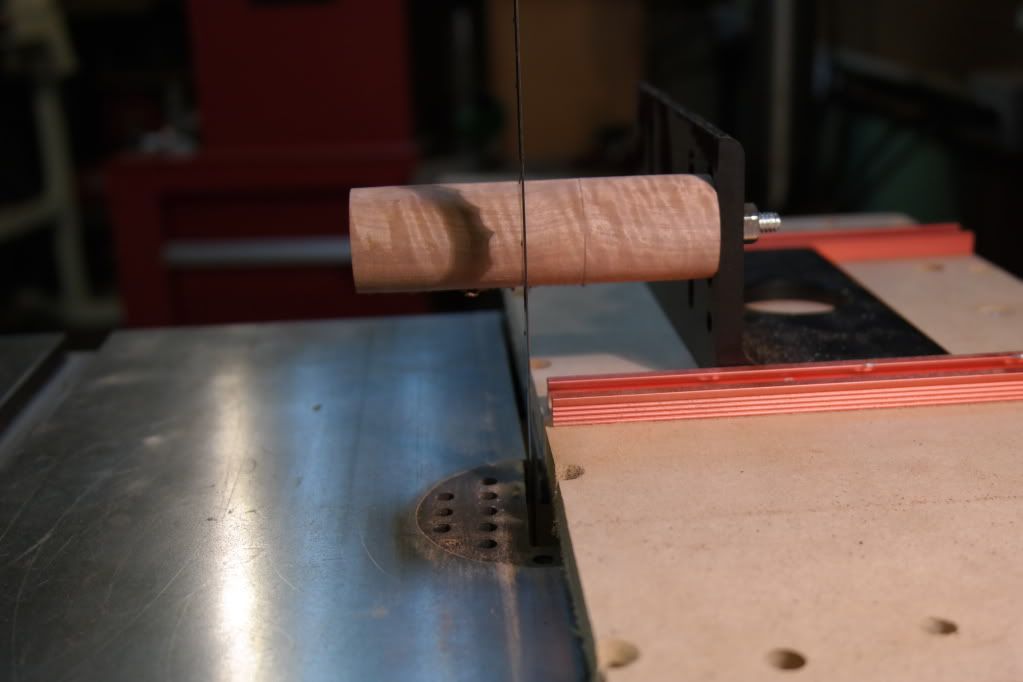
Once drilled, I take the blankd off the lathe and screw it onto my "jig". This jig is a homemade bandsaw sledthat helps with all 3 toneboard cuts. It was made from a leftover wooden section of an incra jig set plus some t-track £ had laying around and a piece of aluminum with a 90 degree angle that came off of something (can't remember what)and sat in abox until this came up. The machine screw end of a 1/4" lag screw fit into that piece of aluminum and is further secured by a nut on the other side. The wood screw end provides the mount to hold the insert. I first cut the length of the toneboard, then the furthest line from the exhaust, then the closest.
I end up with this:
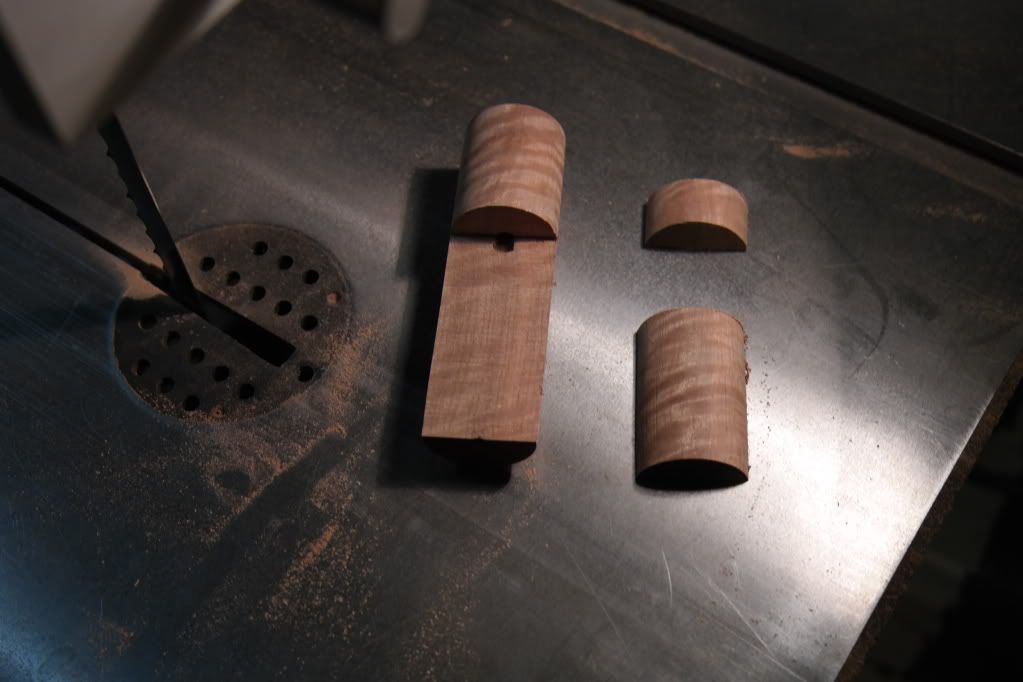
Keepung the cutoffs for later, I then move to my drill press to cut the tone channel. I don't have a mill, but found that with a 1/4" mill bit and an xy table, for light work like this one isn't necessary. This is easy to set up and do with a little experimentation and practice. I use a rubber washer under the exhaust end to create a sloped channel. This pic shows it halfway through pass 2.

Once this is done, I'll glue the 3 pieces back together using medium CA (just a couple drops per piece with a newspaper separator to keep it easy to separate them later), the chuck the blank for turning, sanding and finishing.
Hope this helps someone... don't hesitate to ask if I wasn't clear on anything.


