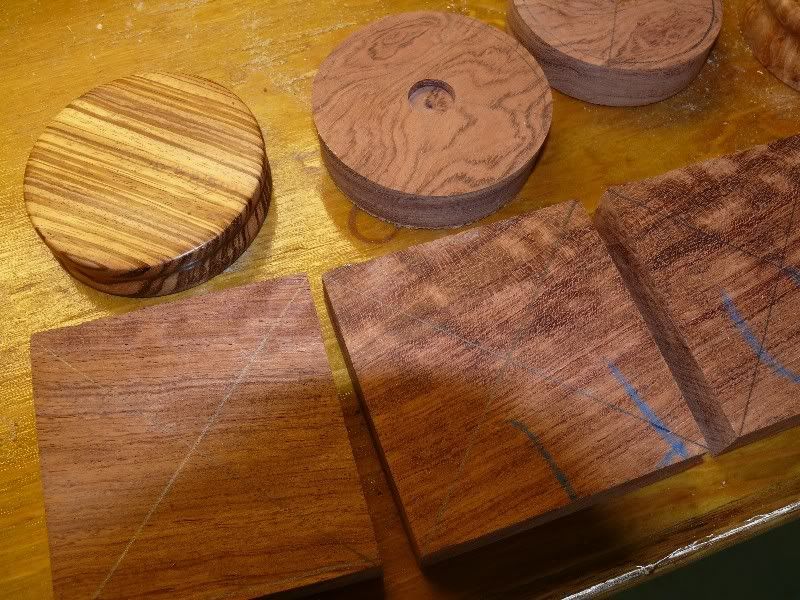
I wanted to put together a tutorial to help the new fellows wanting to learn how to make friction calls. The thickness of the wood should be a minimum of 1 inch thick and should be 4 inches in width and length. Most of the time I cut it a hair bigger then the 4-inch square. Before you draw your X on the wood to find the center of each square look at the wood and determine which side has the best grain for the outside of your call.
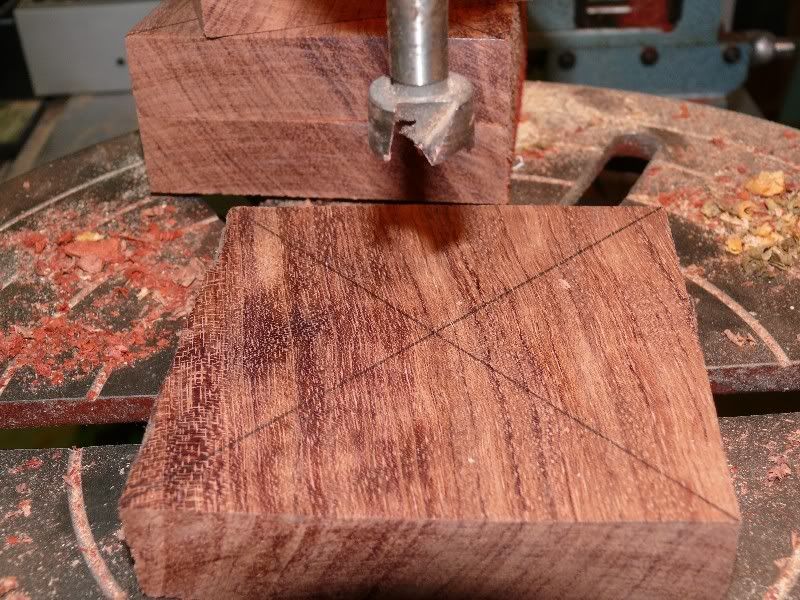
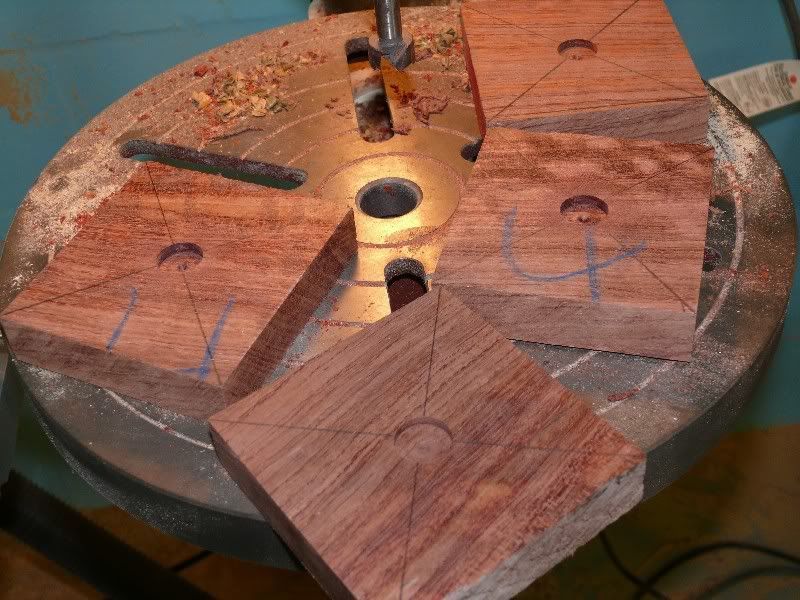
After you have found the center of the square by drawing an X use a fortsner bit to drill a hole in the center of each block of wood. The side that I drill the hole in the wood blank is going to be the inside of the call. The size fortsner bit that I use is the same diameter as a penny. Many times I will use the same fortsner bit to inlay a penny in the bottom of my calls. For the depth of the hole I am drilling with the fortsner bit I estimate two thickness of the top surfaces (glass or slate). It does not have to be exact, but you do not want to go too deep. Once you take the wood away it will not grow back. After you have done a few you can look at the sides of your fortsner bit and be able to judge the correct depth for the hole.
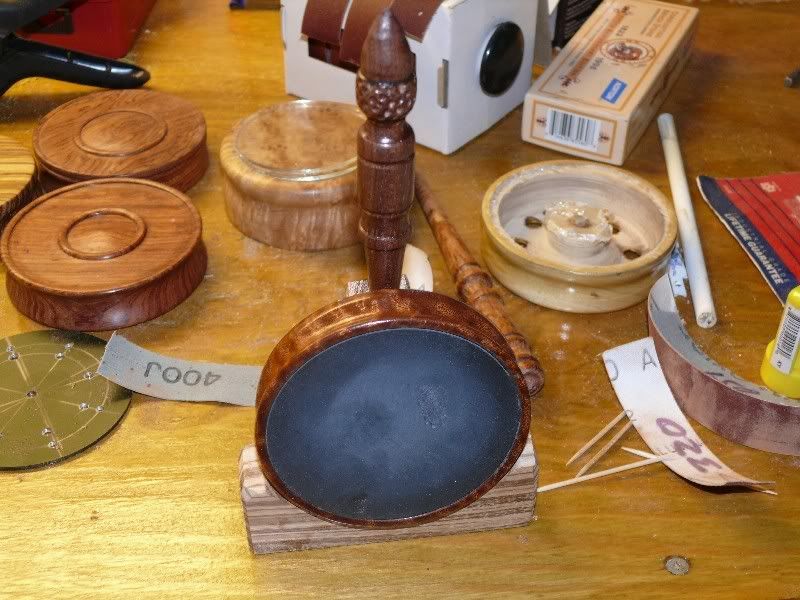
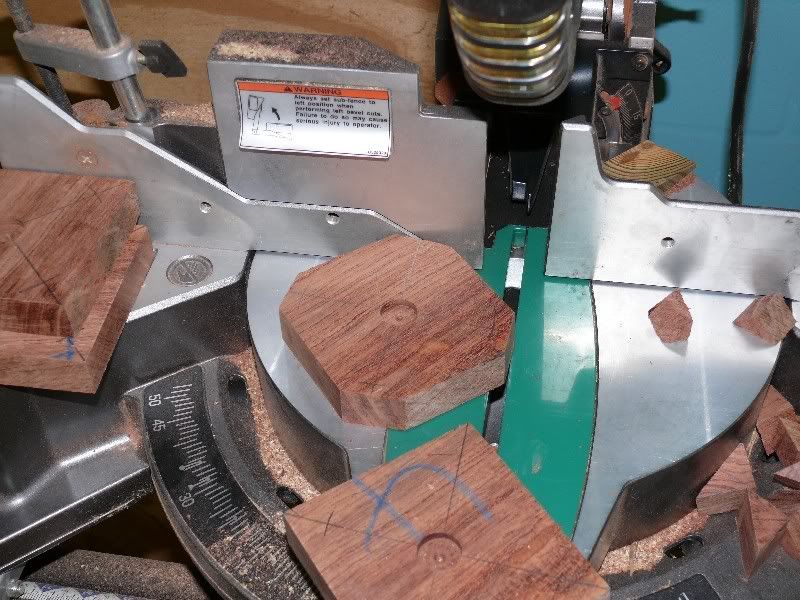
The next step to round the corners off to save some time on the lathe and avoiding the risk of spliting one of your wood blanks. I have been using a chop saw to cut off the corners. I ordered a band saw so it should make this step a littler easier. If you use a band saw you can use the half of the circle and use the scrap wood as a stand for your call and a striker when you are finished. I put a picture below of the stand to give you and idea what I have been doing. I hate to waste wood.

I next take the wood blank with the corners cut off an use an expandable set of jaws on my chuck and insert the jaws in the hole we drilled with the fortsner bit.
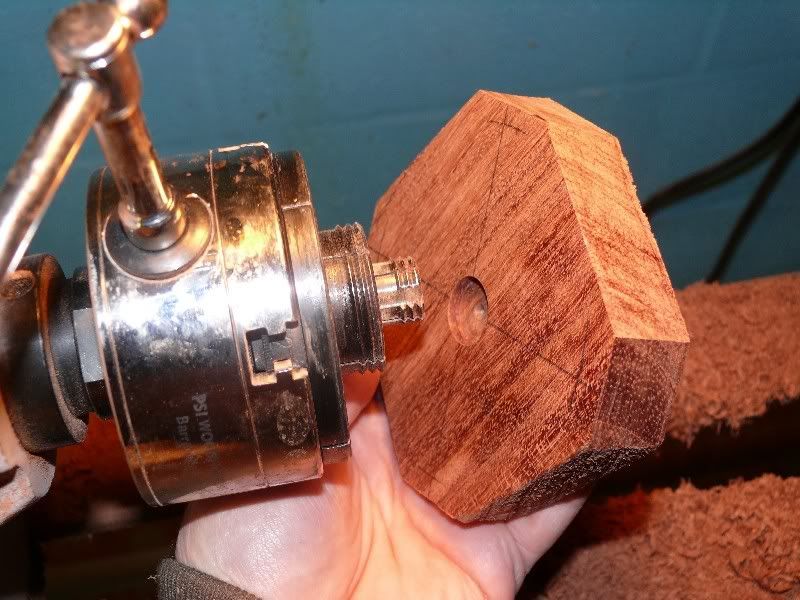
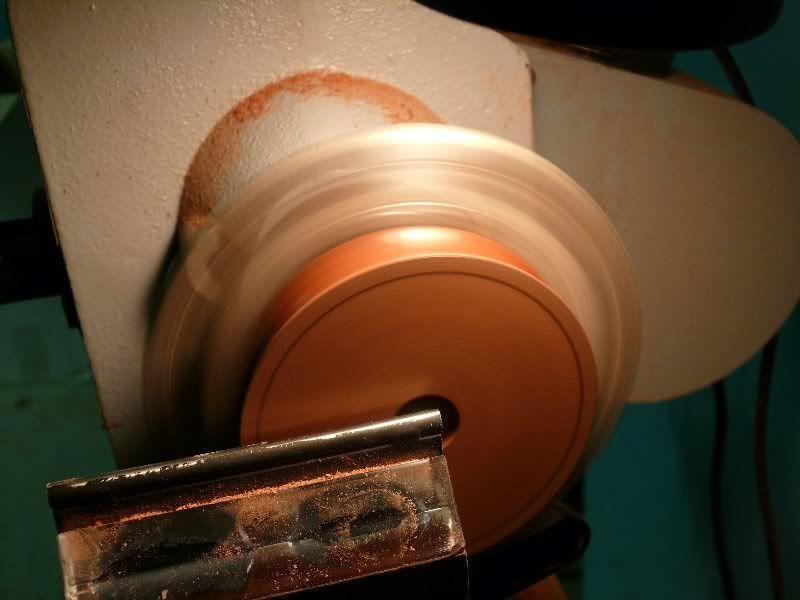
To round the wood blank I use a large rough gouge as shown in the picture below. Take your time and keep your tools sharp. At this point you can go ahead and do most of your final shaping and sanding to the outside of the call.
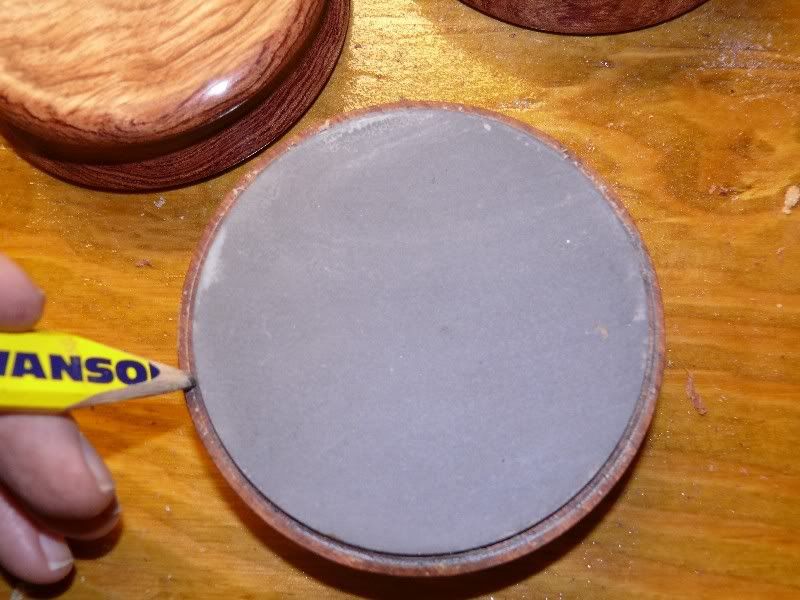
After the blank has been made round I take it off the lathe and use the top surface of the call (slate, glass, or aluminum) and lay it on the call are trace the outside surface on the call.
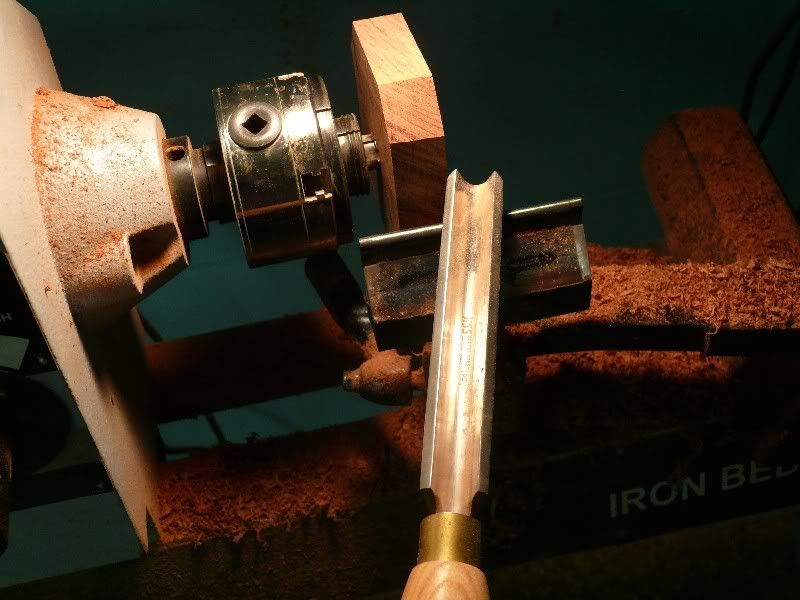
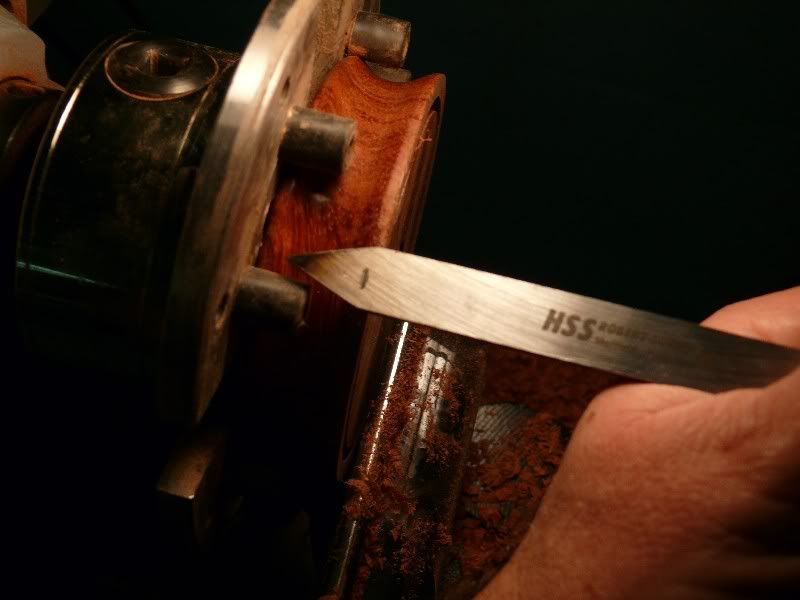
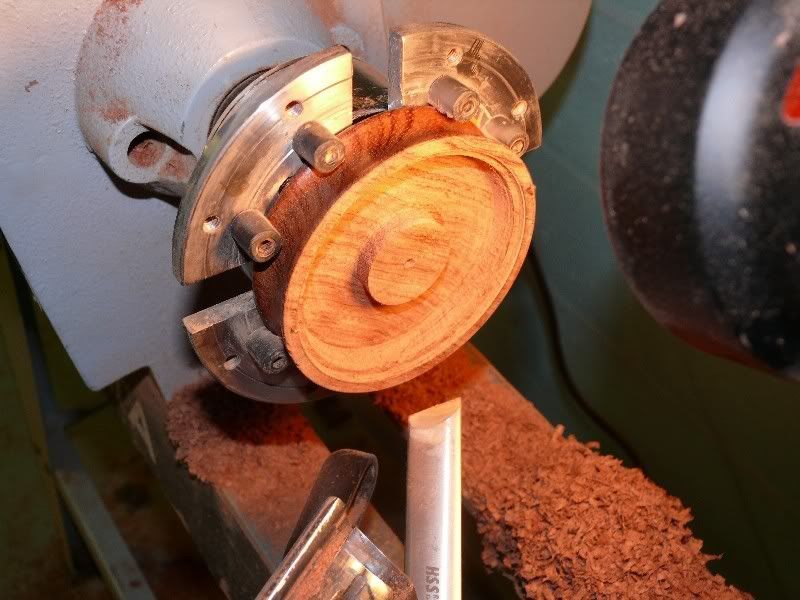
In the picture below you will note that I change the jaws on the chuck to a flat jaw with the rubber posts. I have turned over the wood blank over so we can start carving out the inside of the call. I start with a parting tool and go to the INSIDE of the circle that was traced on the inside of the call as shown above. You do not want to start you cut on the line you traced. If you do you will have a sloppy cut and your top surface will not fit snug. Only cut deep enough so you surface will lay flush with the surface of the call.
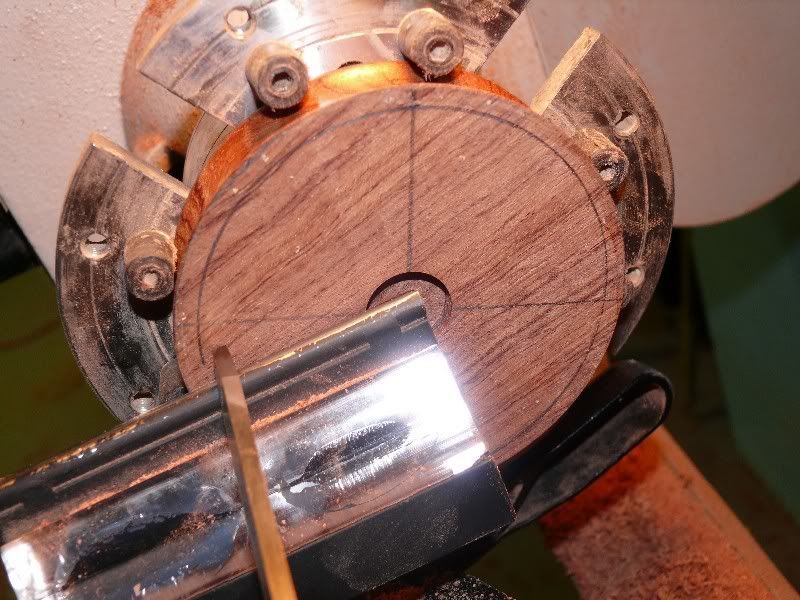
So you do not cut too deeply with you parting tool hold it up next to the outside of your call and mark your parting tool with a pencil so you do not go too deep.
After my first cut on the inside the line that I traced for the top surface I move in with the parting tool one width of my parting tool and cut down to the depth that I marked with the pencil on my parting tool. I next determine what diameter I want for the pedestal for the soundboard and cut down the depth that I marked with the pencil on my parting tool. At this point I cut the remaining wood out between the pedestal and edge of the call. Remember to leave the lip on the edge to lay your top surface. The tools that I use to clean out the wood is the parting tool or gouge. After that wood has been cleaned out I use a sharp skew to flatten the bottom of the inside of the call. It is more cosmetic then anything. I just like neat work even though no one sees the inside of the call. I next use the skew to lower the pedestal a little bit at a time. I like to have 1/8 of an inch from the bottom of my top surface to the top of the soundboard. After I shaved off the pedestal with the skew I will periodically lay the soundboard on top of the pedestal and eyeball the distance from the top of the soundboard to the lip I cut in the side of the call for the top surface. After you have done a few you will not need to measure. The spacing is very important to get a good turkey sound.
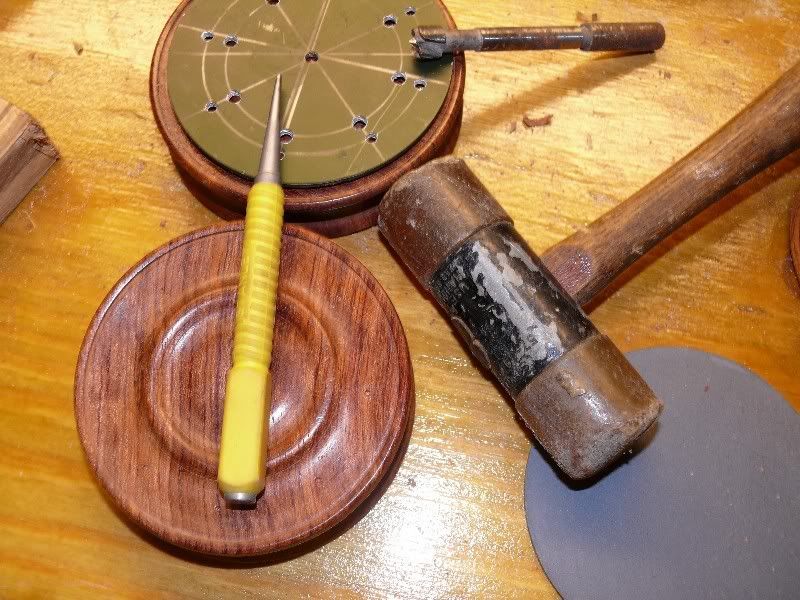
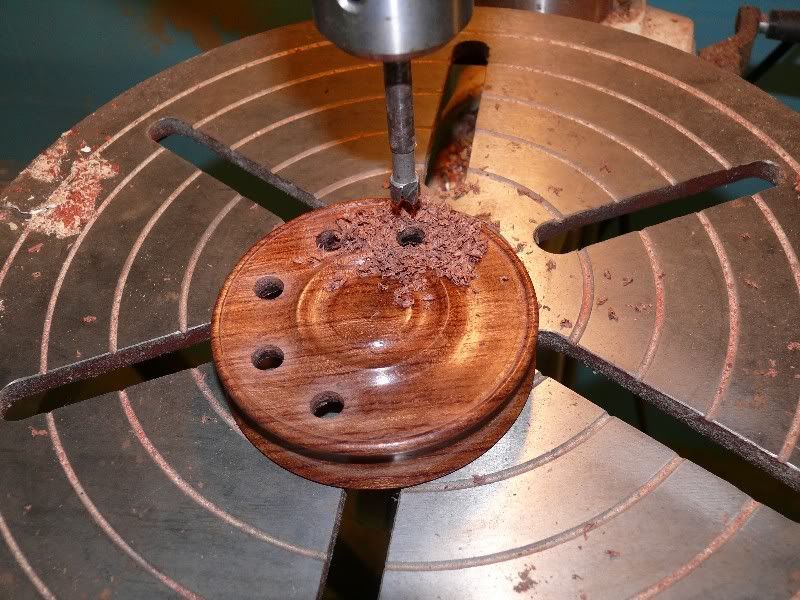
At this point I take the call off the lathe and use aluminum template to mark my sound holes and drill them out. You should drill from the outside in with your fortsner bit to avoid having the wood tear around the edge of the holes. If you drill from the inside out the wood will tear where the drill bit comes out and you have ruined the appearance of your call.
Next I put the call back on the flat jaw chuck; in the picture below you will not see the rubber posts on the flat jaw chuck. The rubber posts have been moved in towards the center of the chuck and are not visible because they are inside the call.
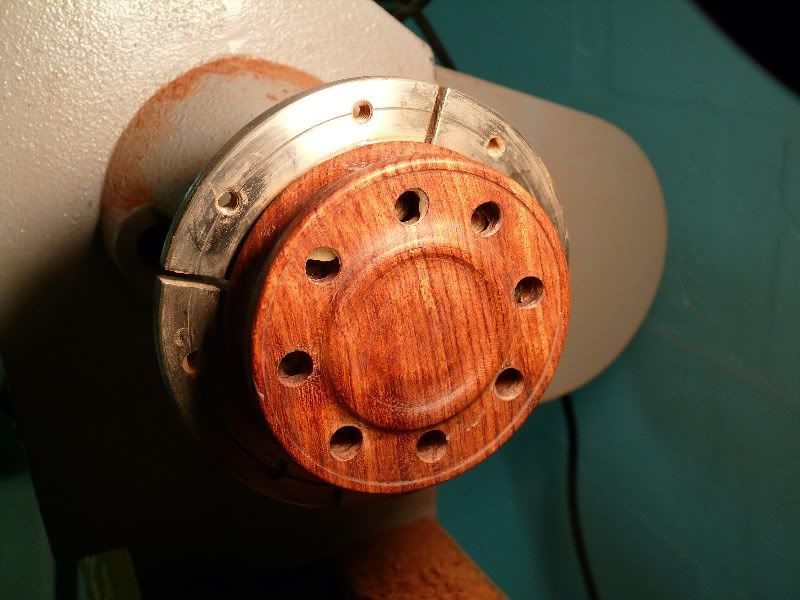
I mount the call this way to do the final sanding, finishing, and polishing of the call.
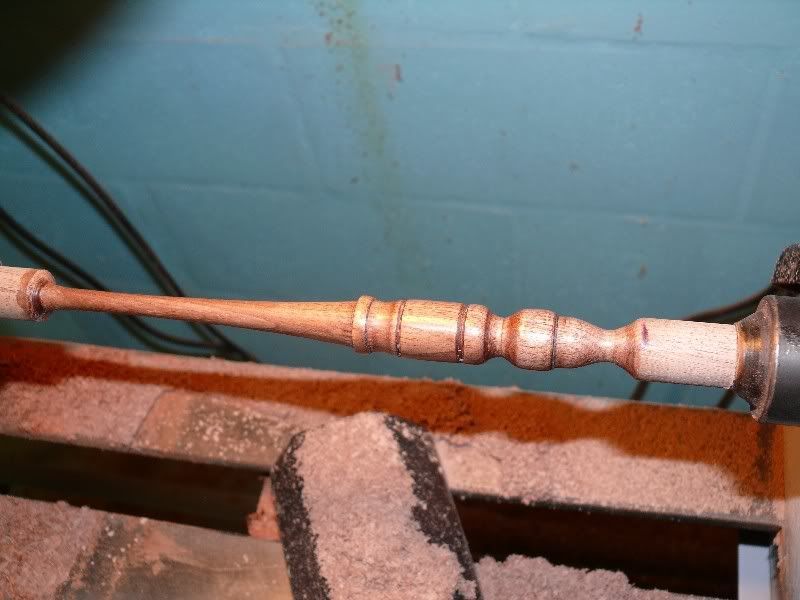
Most strikers are between 7 ¾ and 8 inches long. I usually cut a board into1-inch squares and 10 to 11 inches long. I mark and X in one end to find the center and use a punch to make an indention for my tailstock on the lathe to fit into. I use a pincher chuck one the other end. I use a rough gouge to turn the block of wood into a round cylinder.
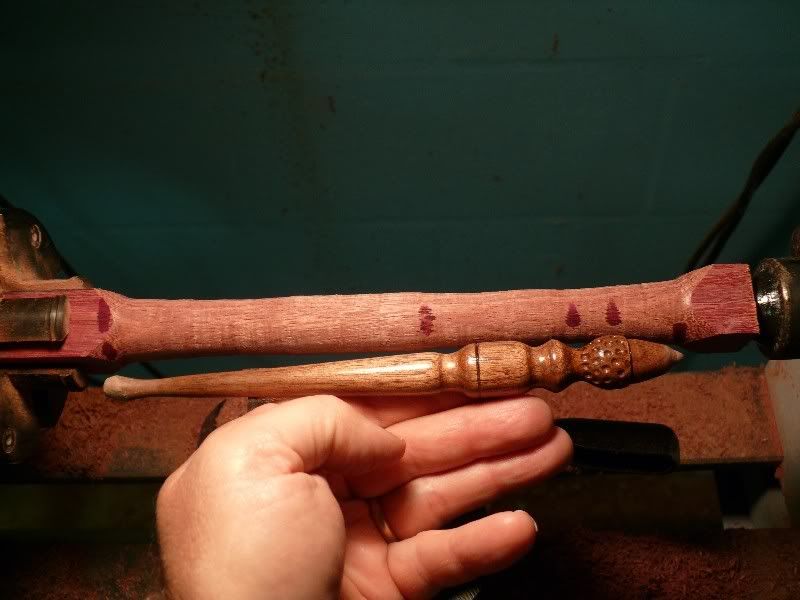
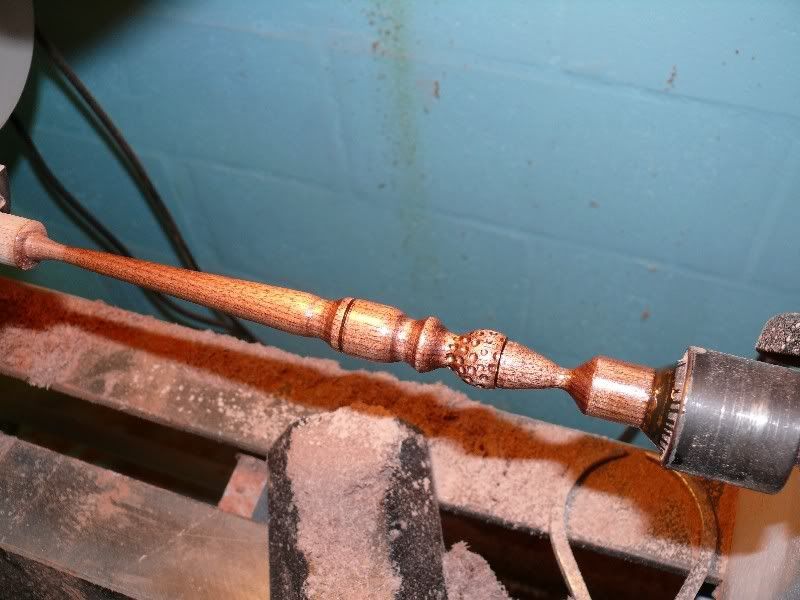
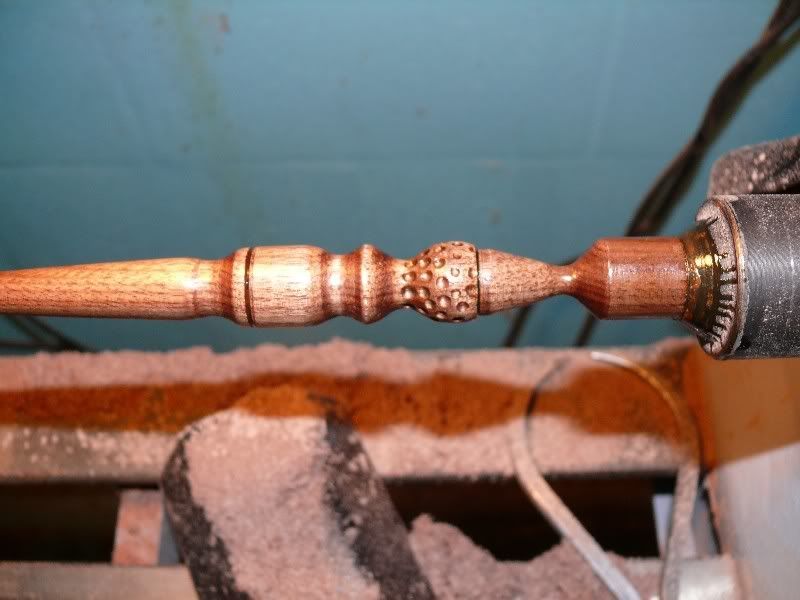
I then use a marker to mark the ends of the striker. I also mark the length of the handle for the striker and the length of any decorative carving I am going put on the handle while on the lathe.
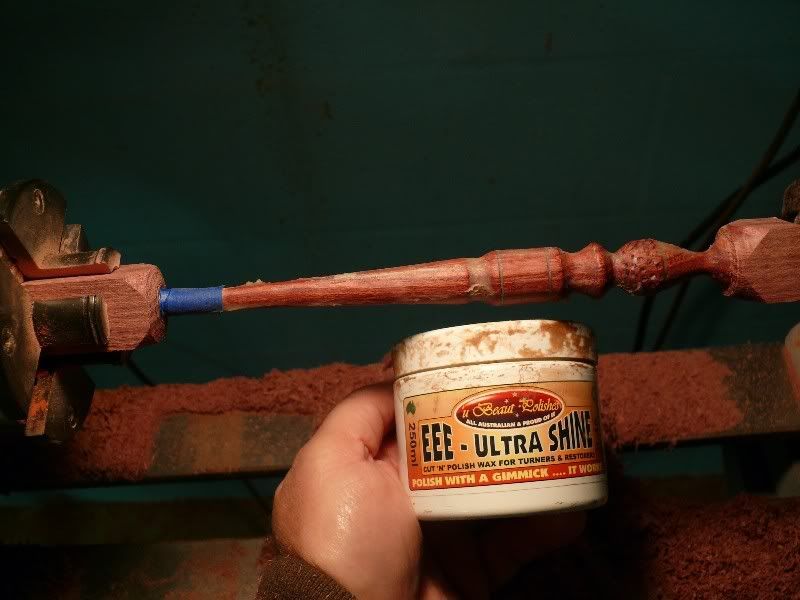
The biggest mistake that I made when I first started turning strikers was I was making them too fat. I believe the straight portion of the striker below the handle should not be more then a ¼ thick. Where the striker comes into contact with the call. I do all the sanding and finishing on the lathe. After I do the finishing on the striker I cut it off with a parting tool on the tailstock end of the lathe first. Then go back and finish the wood where is it was cut off the lathe. After I cut off the other end of the striker I use some 60 grit sandpaper and cup it in my hand and turn the striker back and forth to round the tip a little then I use the same sand paper and sand the point from the center out to the edge of the point.
I hope this helps some of the new call makers. I received a lot of help from veteran call makers along the way. Have some fun and turn a few calls. Stoner