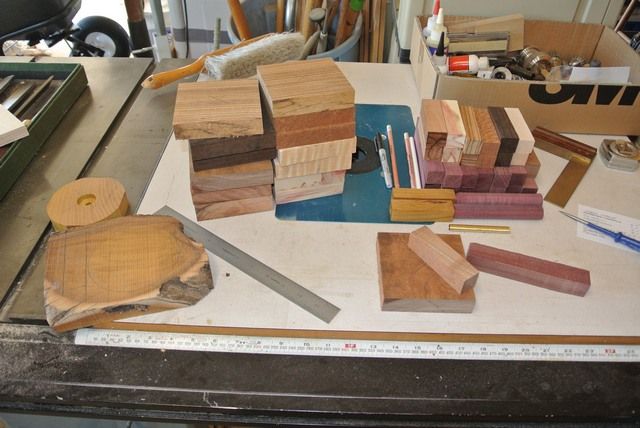
I've been wanting to make some new jigs for pot calls for a while, and I have a bunch to make, so I decided to document it below. I'll check back in again when the below are all done. Thanks for looking.
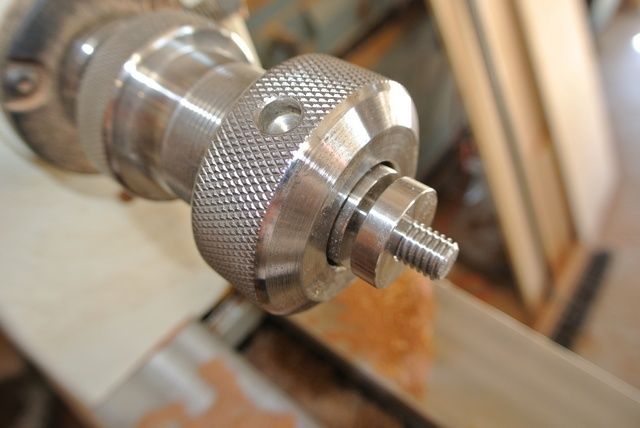
The key to my jigs is a turned hardwood pedestal that fits snugly into my drill press table (7/8" for mine) with a 3/4" tenon into the jig base.
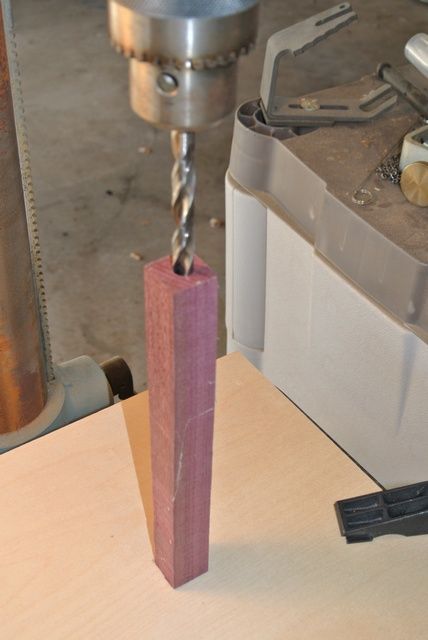
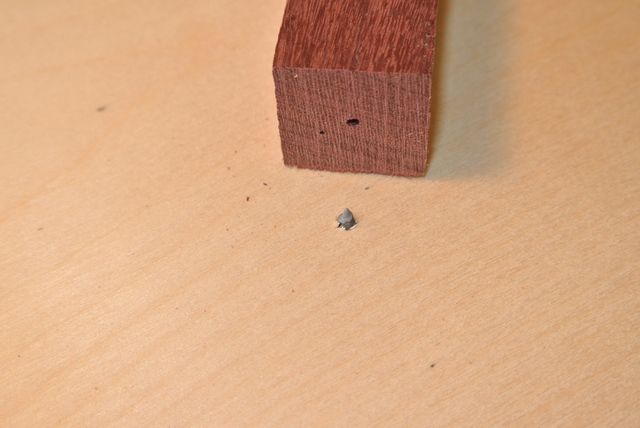
The height of the drill press table is set up to drill a hollow section into the end of a one piece striker. I used a length of 5/16" rod sharpened to a cone shape to center the table and to mark for the drywall screw that comes up through the pedestal to center the bottom of the striker blank. I scribed a line in the drill press post and matching marks in the post and the table to get things aligned again in the event I ever have to move the table.
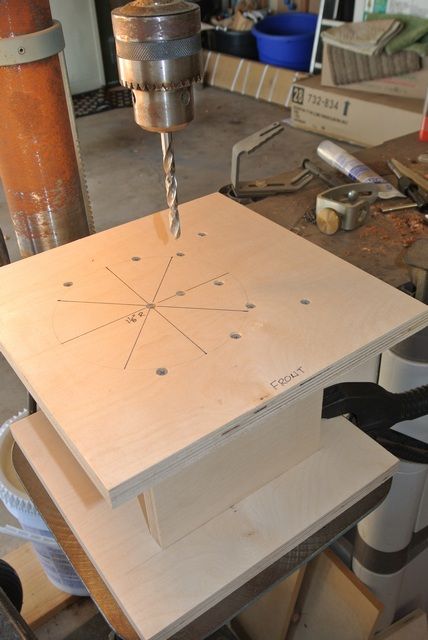
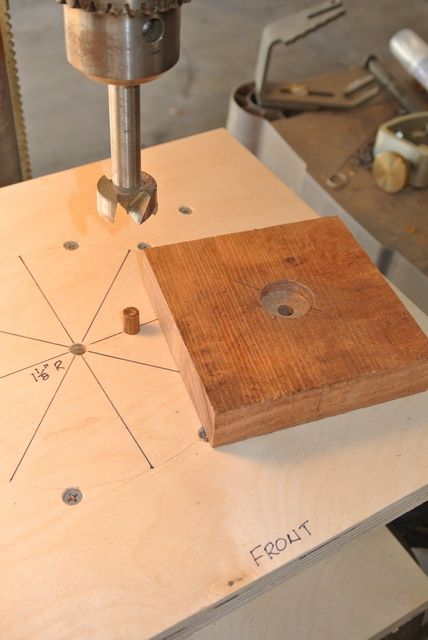
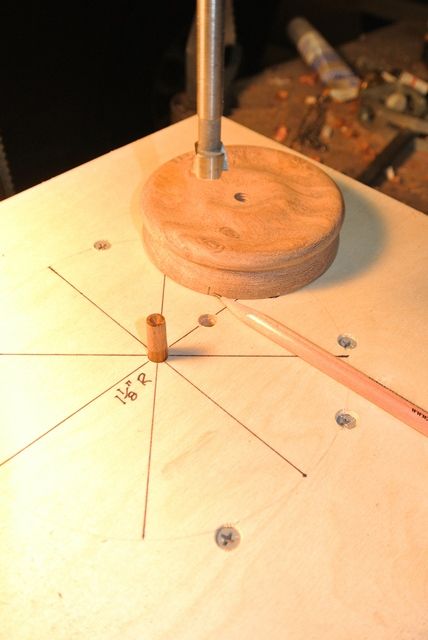
The next jig is for drilling center and sound holes in the pot. After building the jig to the right height, I used a brad point bit to mark the center of the drill hole and then measured over the radius I like to put the sound holes. This is set up for 8 holes on 45 degree lines using a drafting square for accuracy.
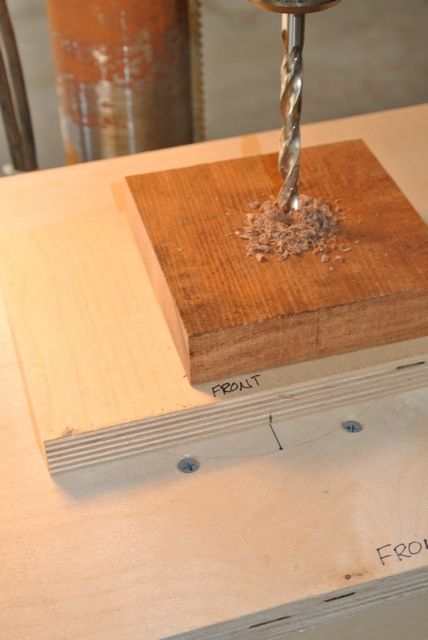
First, I drill a center hole in the blank for use in a bottle stopper threaded chuck. I don't like to drill into my original hole on the jig, so I use a waste block with a short dowel set into the bottom to register with my original hole.
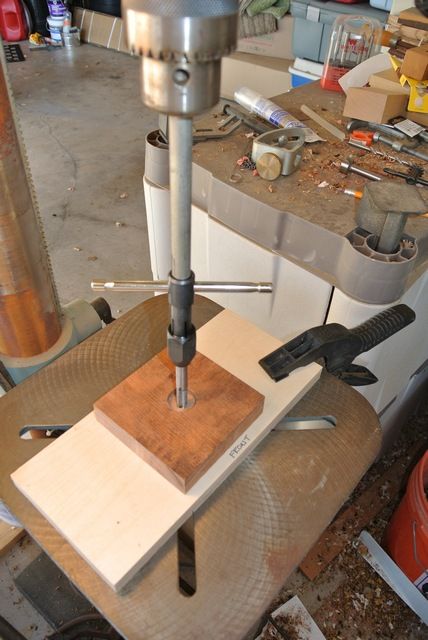
Next, I turned a hardwood pin to fit pretty tight into the table hole and a bit more easily into the hole in the blank and drill the start of the hole for my sound board pedestal.
I was having trouble with the threads in the center hole being slightly misaligned, so I decided to do another jig to get the tap started square as shown below. This is a length of 1/2" chamfered rod to center the top of my tap handle to get things started square.

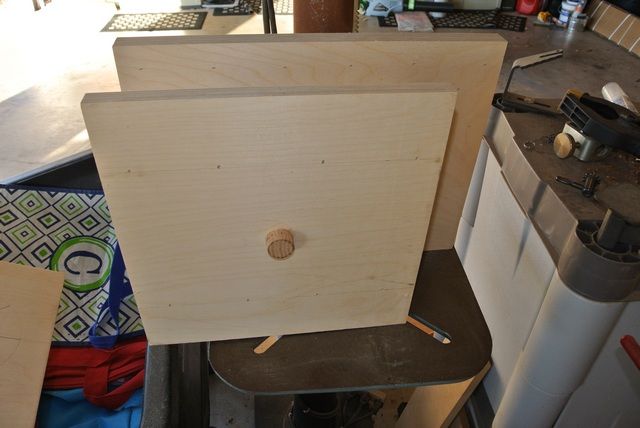
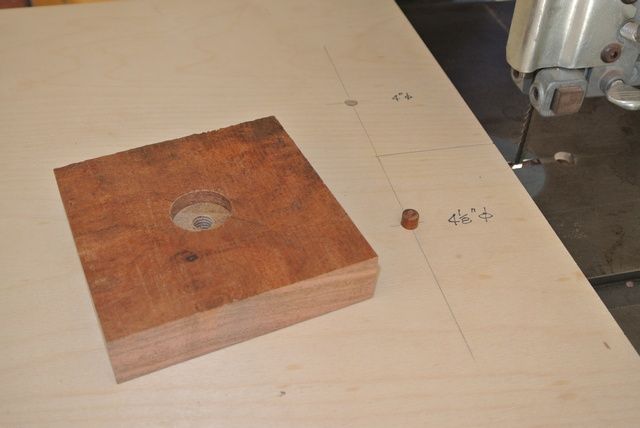
Next, I made a jig for the band saw to cut circles. A guide runs in the miter gage slot and a cross-bar sets the length of the cut into the sled as shown in the bottom view below.

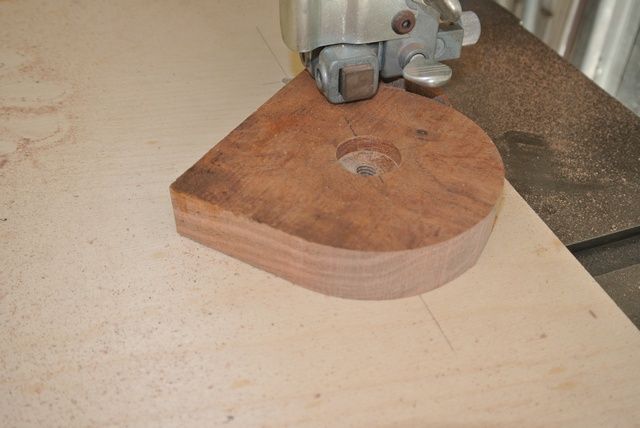
At the end of the cut, use a square to draw a perpendicular line which will be where the center of the blank will pivot around and drill some holes for a center point pin (removable). Then place the blank over the pin, slide the sled forward into the blade, and rotate the blank to get a circular blank.
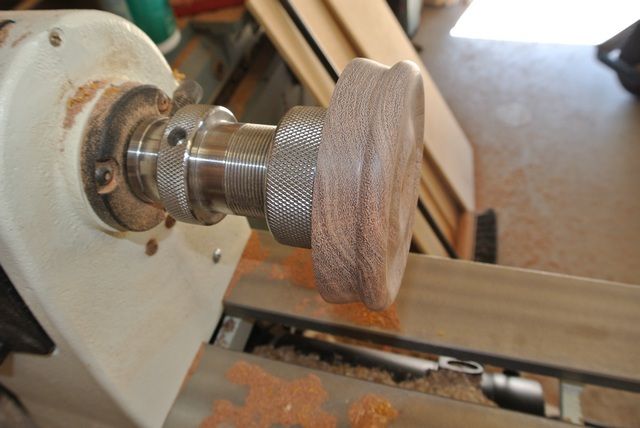
The bottle stopper threaded chuck set into the collet chuck. I have an extra spacer here which will bear against the bottom of the hole I drilled to start the sound board pedestal hole. Thread the blank on the chuck, turn the outside to your shape, and rough sand.
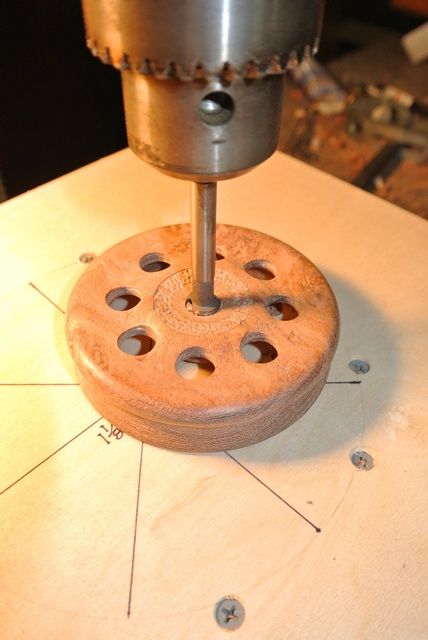
Back to the drill press jig. Put a dowel in the offset hole and make a mark on your turned blank (near the end of the pencil).
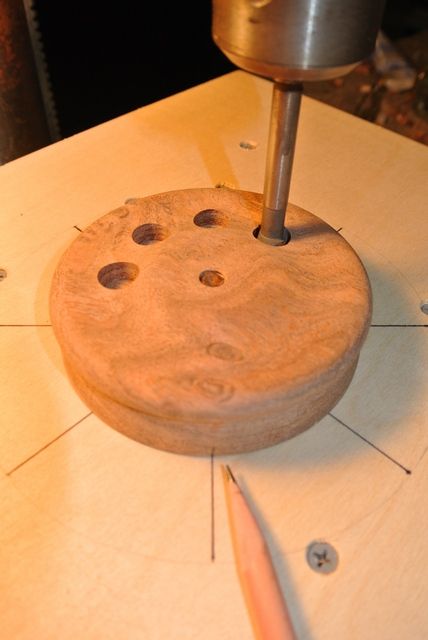
Align the pencil mark on the blank with each of the layout lines on the jig and drill part way into the blank. I know a lot of you like to drill your sound holes before turning, but I seem to have less tearout problem by doing it this way.
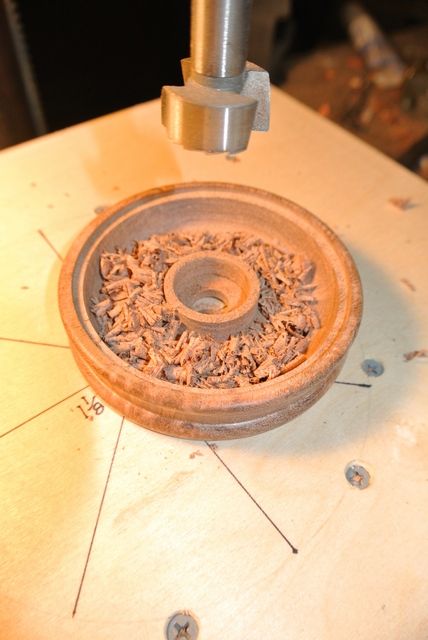
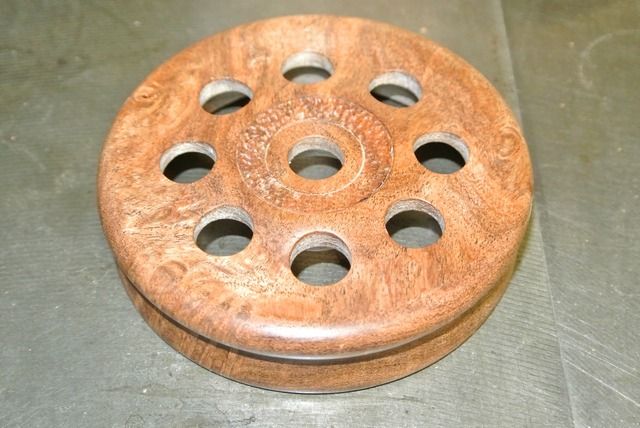
Go back to the lathe, turn the inside of your pot, flip it and finish sanding the outside, then come back to the drill press. Put a dowel directly below the drill bit and drill out the center hole to the full diameter of your other sound holes. Flip the pot over and finish drilling out the large diameter of the pedestal (no pin needed here - just align the bit carefully with the previously started hole). Done with the pot and ready for finish!
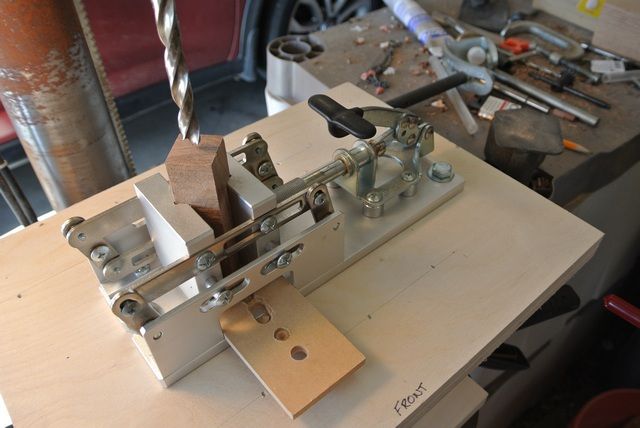
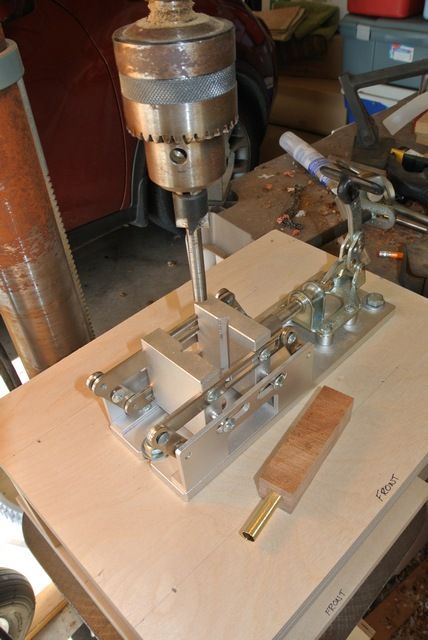
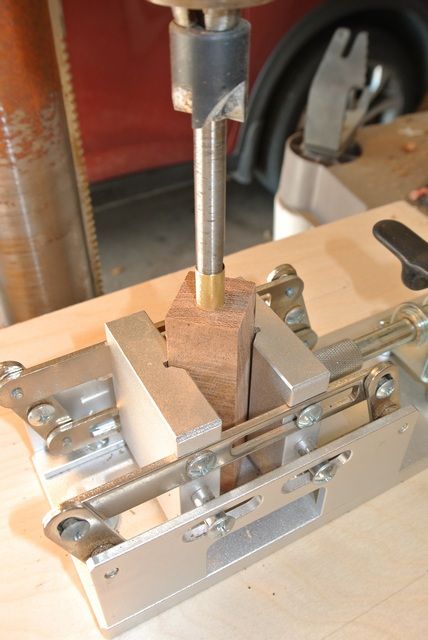
For my two-piece strikers, the last jig is to hold my self-centering pen drilling vice to drill out the striker head. The key here is to have enough drill bit protruding to get all the way through your striker head and I usually have to re-position the blank up after drilling part way through as my press does not have enough stroke to get through it all in one shot.
I then use a pen-mill and a loose section of brass pen tube to fit snugly over the mill and square up each end perpendicular with the drilled hole. I keep the blank pretty loose in the vice and let the corners catch so I don't bend the mill shaft or force things in alignment.

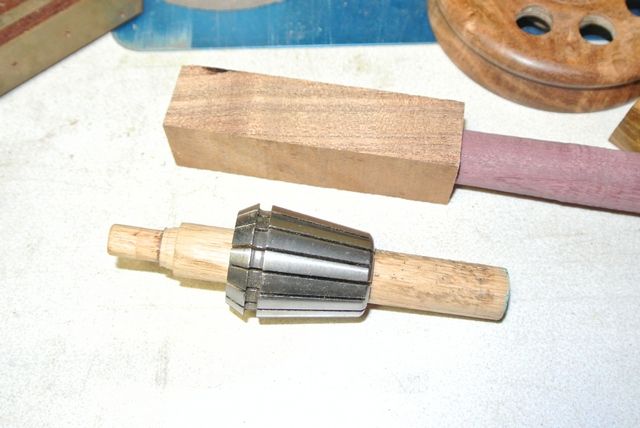
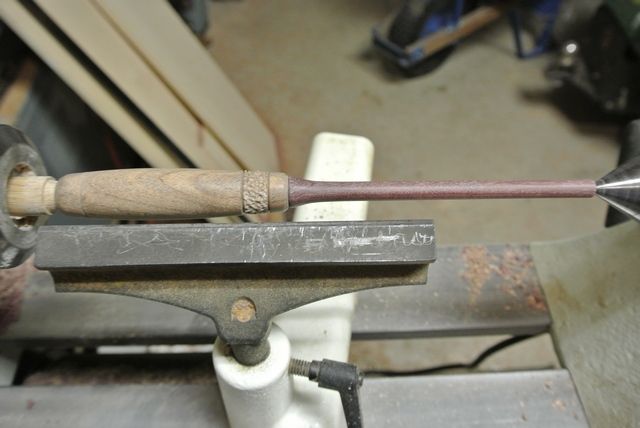
Lastly, I use a piece of 5/8" hardwood dowel in the collet chuck, turn it to a snug fit for the striker head hole and leave a shoulder to so the tail stock has something to press against, and turn the striker to shape. Done.