So ,as of late some folks have had some questions about what method to use to turn pot calls. I figured since I had some time tonight I would post my Low budget way of turning these babys. NOTE: in no way is this the only way. I just want to show how I skin my cats.
When it comes to tools I have the philosophy of go big or go home, unfortunately my employer (Uncle Sam) does not share my philosophy when it comes to paying his employees.

So I toyed around with some ideas and this is the least expensive way I found and might be good for a fellow just starting out!
I will try to explain as well as I can (My fingers dont like to type what my mind thinks sometimes) NOTE my wood is a little thicker than normal for visual purpose.
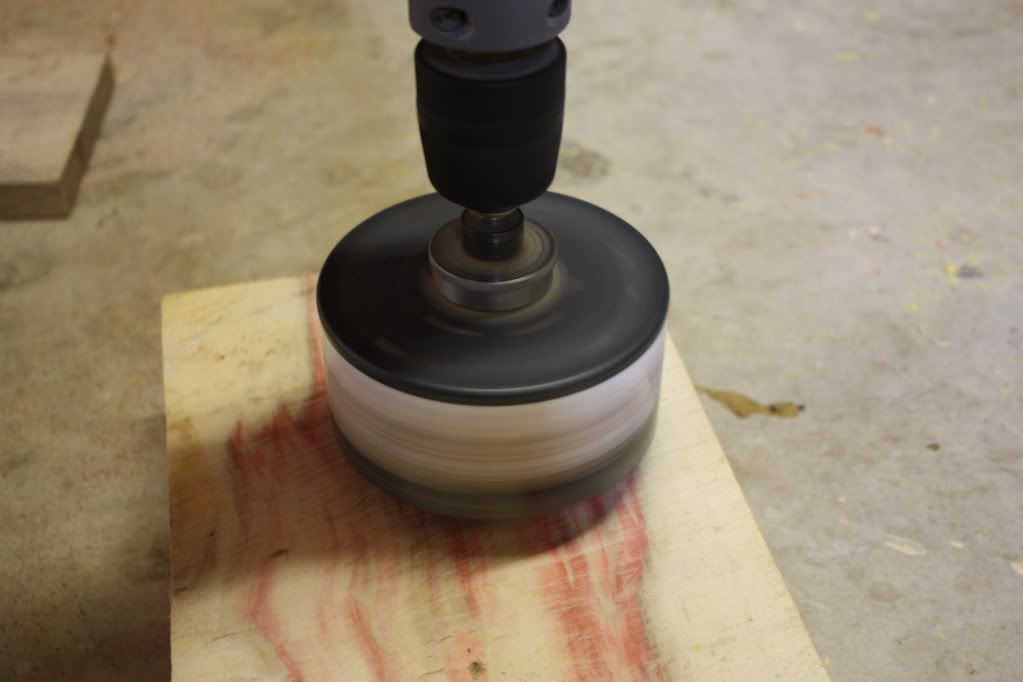
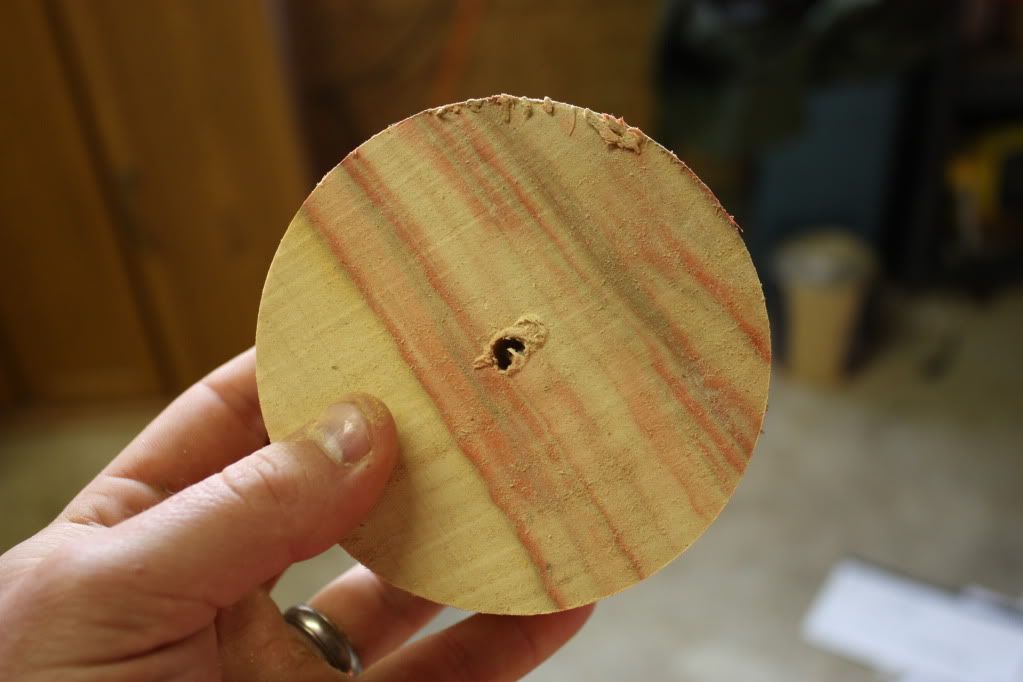
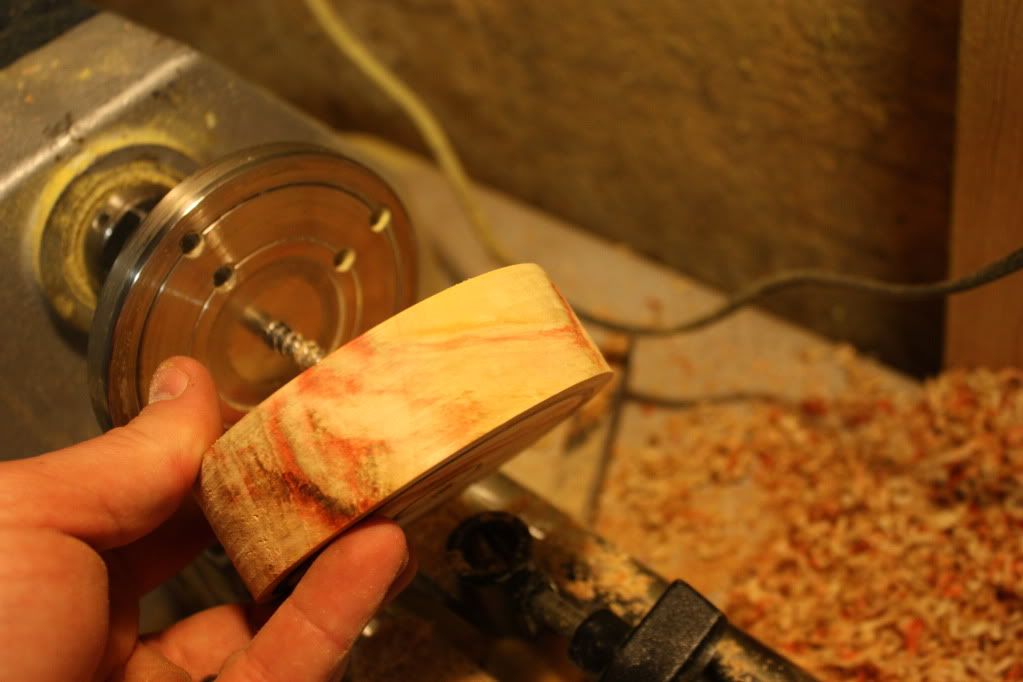
Ok, so here is our first step. I choose this piece of Box Elder that got hit by lighting about 6 months ago (I have alot of this so I can spare a demo piece) Hence Flamming Box Elder. The hole saw is 4" with an arbor (try to find a small sized arbor you will see why in a second) The great thing about using this hole saw is that it gives you an option of maybe you want to place a certain special feature of the wood in a certain place on the call. When you start drilling start slow.
Next the blank is ready to be mounted
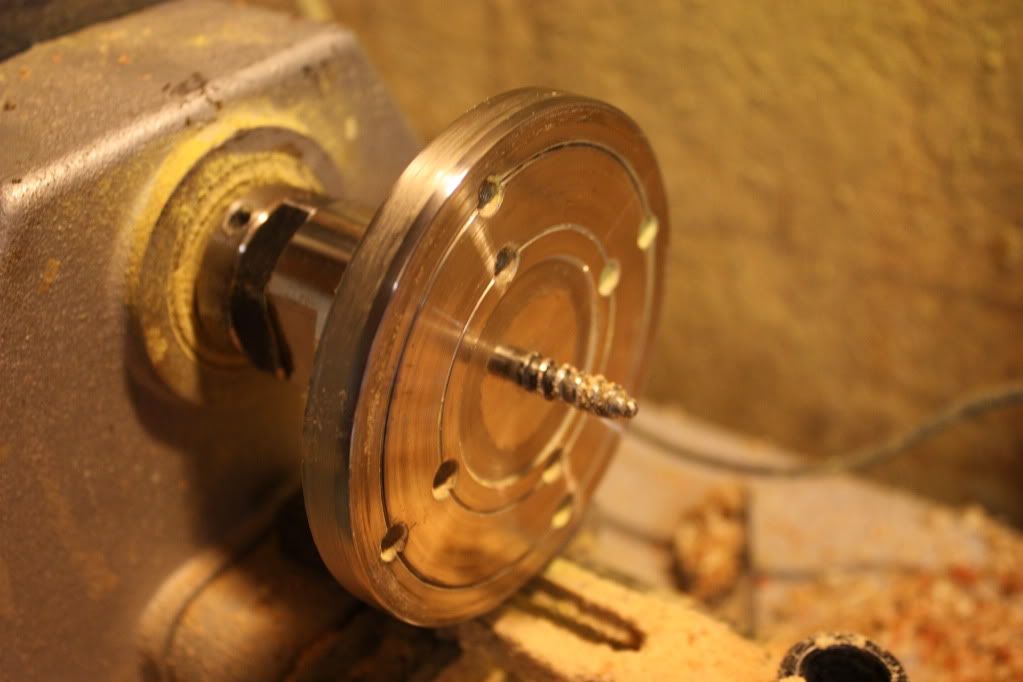
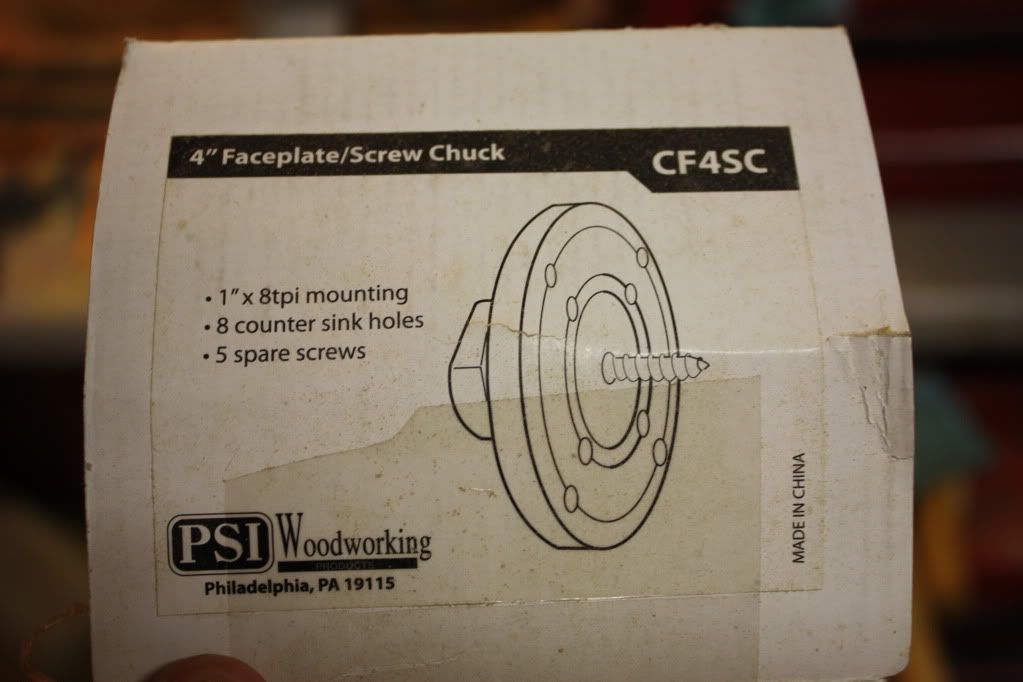
I mount my blank on this 4" face plate/ Screw Chuck from PSI it cost me 20.00 bones. It comes with a 1" screw and 8 counter sunk screw holes. This is also good for some folks that like a huge center hole or Double sided pot calls. I have not tried mounting a blank this way so I cant tell you how well it holds.
Here is the box case you want the model number
Screw your blank on to the Face plate. Make sure its on there tight. When you take it off to switch sides the screw might loosen, no worries though its just one of those things.
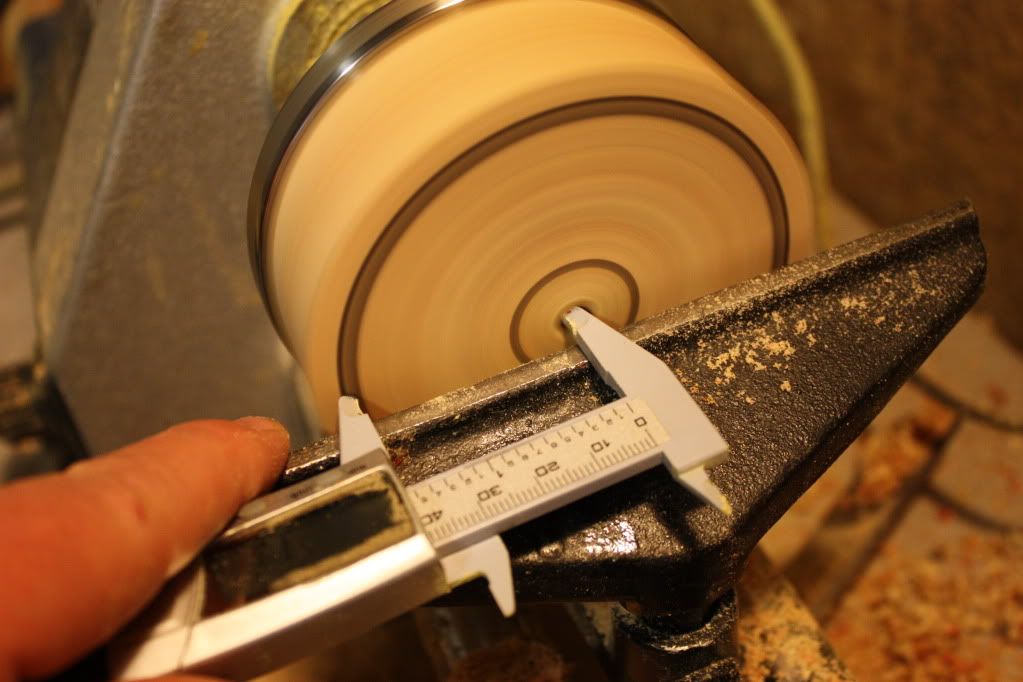
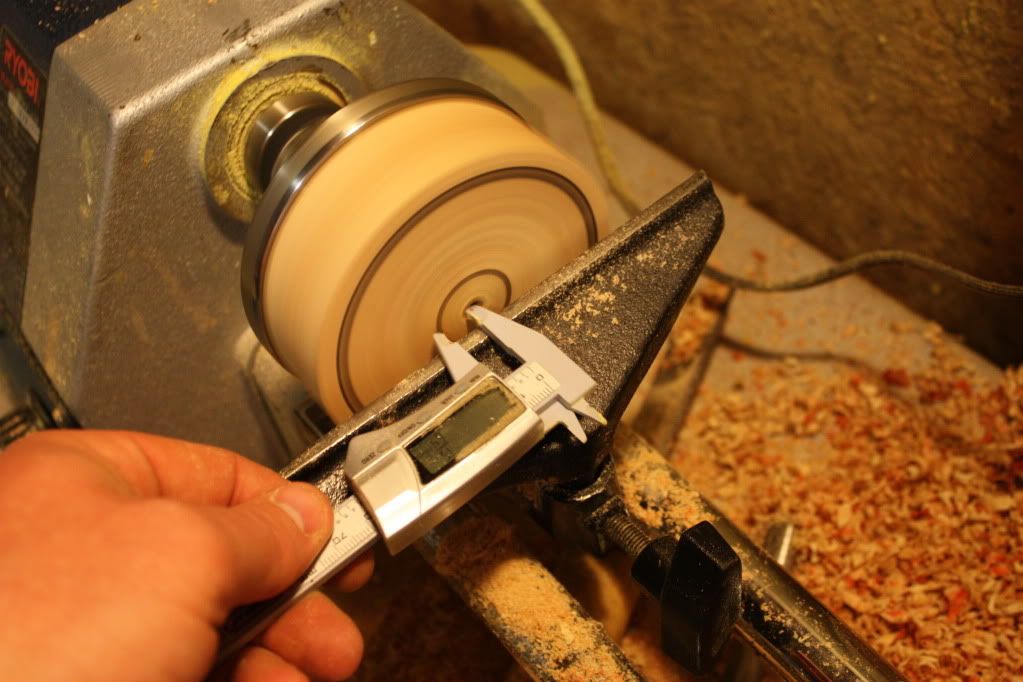
I do my measurements on the fly so I always go alittle smaller.NOTE I did do some basic cuts to take out some unevenness on the face. So after all my marks are on the top of the pot I take it off and lay out my over all pot width and height. Then I put it back on, cut the inside and make sure I'm perfect fit for the slate and glass. NOTE this might take several times of taking it on and off. I then flip it over and knock it down to overall width and height. Once shes all cut up I take the pot in the house for the night (Just so the pot can relax) I bring it back out in the morning, check for any warp, and sand and finish it up
Hope this might help you new guys (Wait im still a newbie

). Don't let money be an obstacle. Im pretty happy with my pots!!
ADAM


