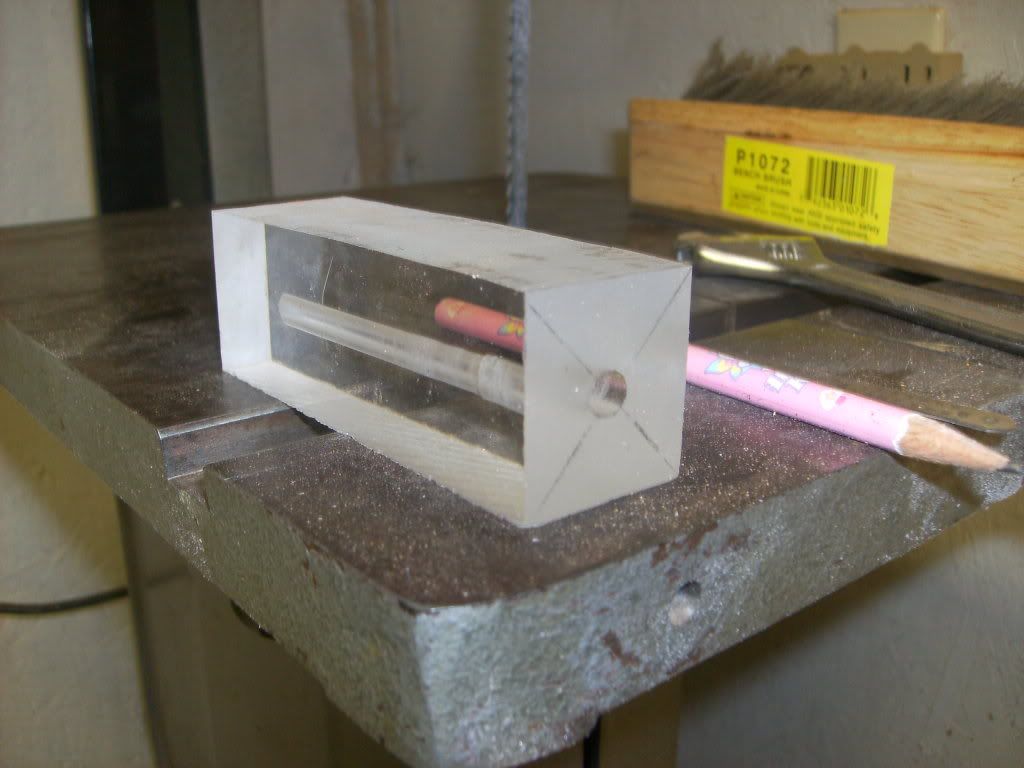
This is the second part of the tutorial, just decided to break it up to keep the sections small. You'll want to go through the same procedure to drill your block for the insert that you did for the barrel, so I won't go through the setup twice. I showed this with a block of clear acrylic to better show the setup of using the drill bit and a washer as a blind mandrel. Thanks to Marvin (Dogcatcher) for showing me this trick when I first started out.
Drill your tone channel hole to depth.
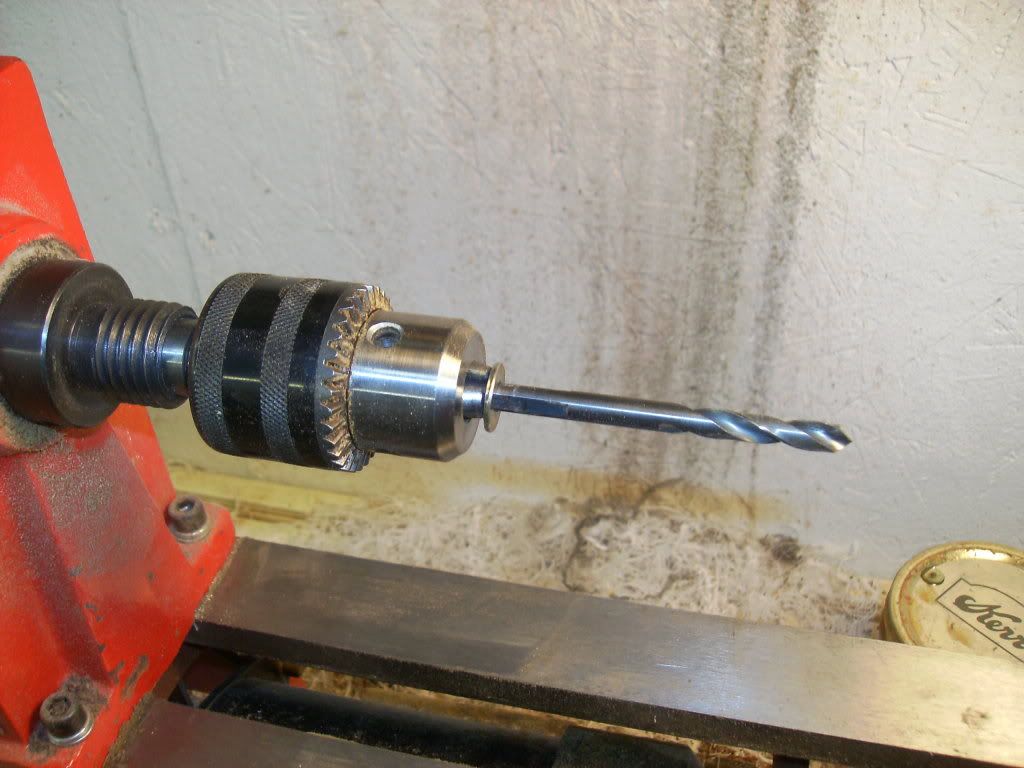
Take the same drill bit you used to drill the hole with and chuck it up in a drill chuck mounted in the headstock of your lathe. Put a 1/4" washer over the drill bit to act as a clutch of sorts, this will save your work if you get a really bad catch...... sometimes! The drill chuck was one I found at harbout freight for $12.
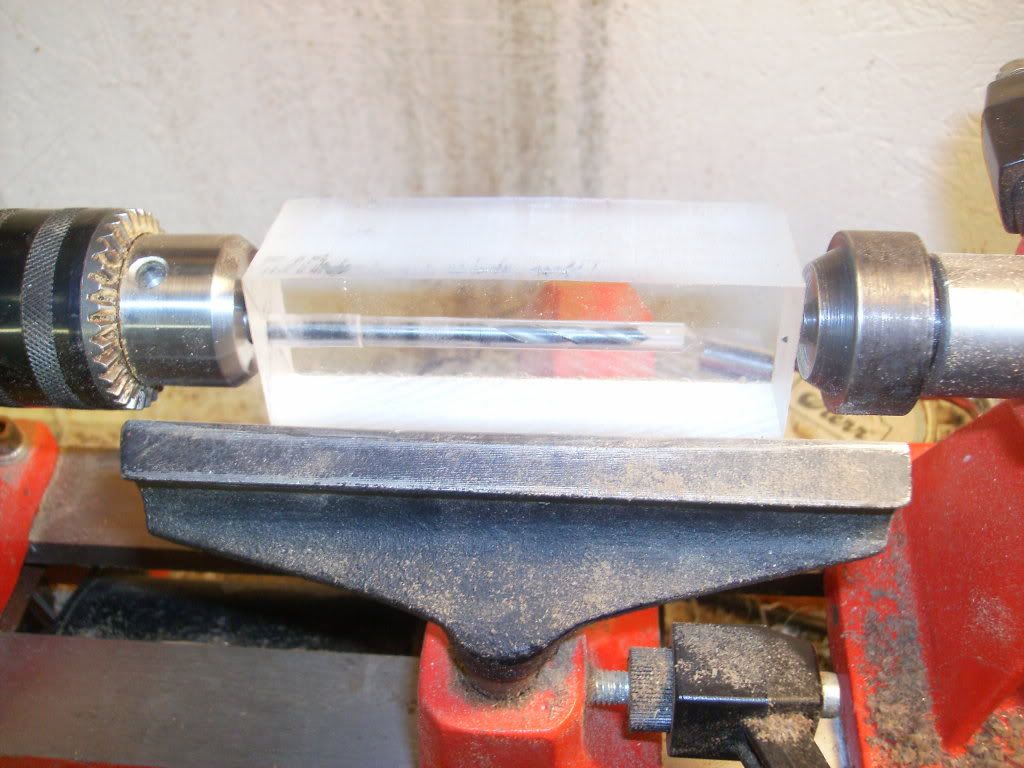
Slide the insert blank on to the bit, and move the tailstock up to add pressure to the end. Tighten the tailstock and lock it down. The pressure from the tailstock allows you to keep the piece spinning with the drive, so if it starts to slip, tighten up the tailstock to add a bit more pressure.
PLEASE NOTE:The drill bit should be shorter than the depth of the hole! The Blank will ride between the washer next to the drill chuck and the live center in the tailstock. Make sure that the drill bit doesn't bottom out in the hole or it will mess up the end of your tone channel and become loose!
There you go guys, just enough info to get you into trouble. Go make some chips and post up some pictures!
Bob


